
Description:
This article describes how to configure Friendly Net Detection in the LANCOM Advanced VPN Client for Windows. This feature ensures that a VPN profile configured in the client automatically establishes a secure VPN connection when the client detects a network that is not declared as a “friendly network”.
Example:
When your field staff operate their laptops outside of the company's local network, they should always use a VPN connection to the company network. All Internet data traffic is then sent to the company via the trusted VPN connection and not via the (potentially insecure) infrastructure of the third-party network (e.g. a public Wi-Fi HotSpot).
With Friendly Net Detection configured, a VPN profile automatically connects to the trusted (company) network as soon as the VPN client has detected that it is in an unknown local IP address range.
How to create a VPN client profile so that all traffic is transmitted through the secure VPN tunnel is described in the article Secure surfing via WLAN hotspots – the LANCOM Advanced VPN Client.
Requirements:
- LANCOM Advanced VPN Client for Windows as of version 5 (download latest version)
- Optional: Friendly Net Detection Server (FNDS) in the local company network (e.g. as a Windows service)
The LANCOM Advanced VPN Client for macOS cannot be used as it does not feature an integrated firewall.
Procedure:
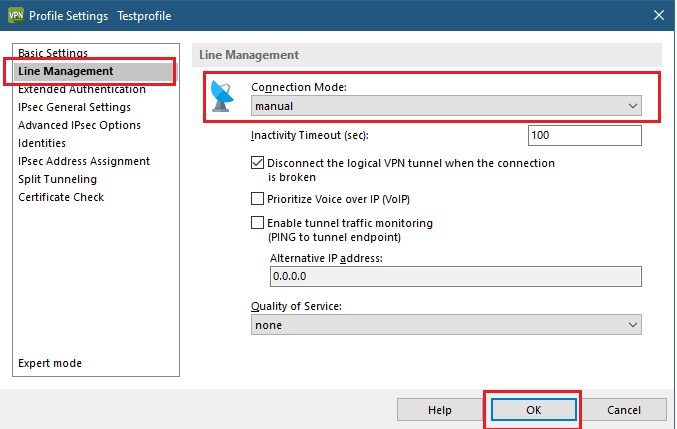
1) Make sure that the VPN profile to be operated with Friendly Net Detection has the Connection Mode set to Always. This causes the VPN client to connect every time it detects an unknown local network.
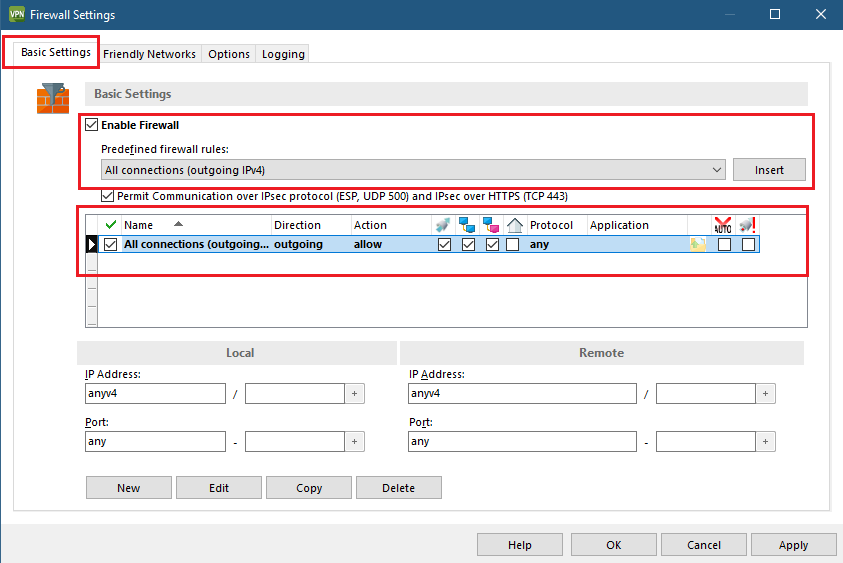
2) Open the menu Configuration → Firewall.
3) On the Basic settings tab, configure the following:
- Enable the firewall.
Choose the predefined firewall rule “All outgoing connections (IPv4)” and click Insert.
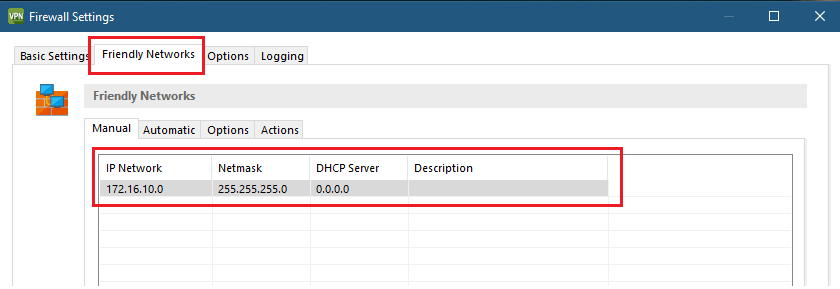
4) Go to the Friendly Networks tab.
5) In the list of IP address ranges, enter the local networks that the VPN client should treat as “friendly”. In these local networks, the VPN client does not automatically connect to the company network.
If you operate a Friendly Net Detection Server (FNDS) in your company network, you can set up the automatic detection of friendly networks. To do this, go to the Automatic tab. For information about the configuration, see the LANCOM Advanced VPN Client Help.
6) On the Known Networks tab, go to the Options tab.
7) Enable the option Connection setup not permitted in detected friendly network.
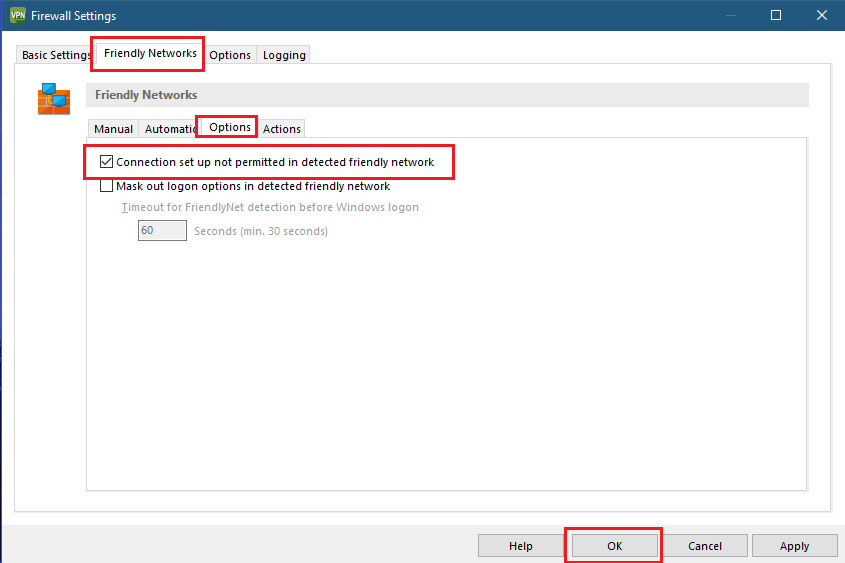
8) Save the configuration.