Description:
This article describes how to configure a LANCOM VoIP router in order to connect an Alcatel OXO Connect (Evolution) to it.
Requirements:
- LANCOM router with the Voice Call Manager:
- LANCOM 883 VoIP
- LANCOM 884 VoIP
- LANCOM 178x
- LANCOM 179x
- LANCOM ISG 1000
- LANCOM ISG 4000
- LCOS as of version 10.20 RU7 (download latest version)
- LANtools as of version 10.20 (download latest version)
- Existing SIP provider line
- Existing and operational Internet connection
Scenario:
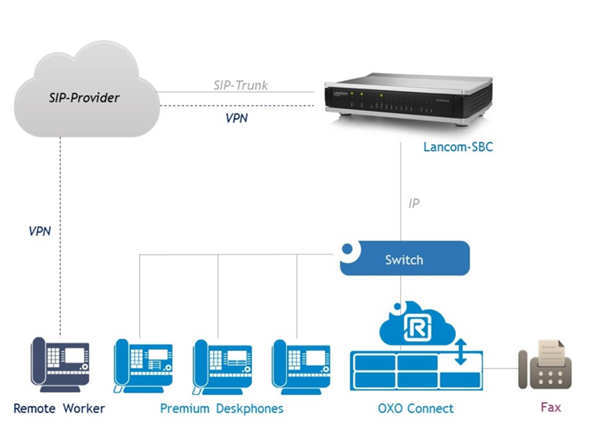
The general scenario is as follows:
- The LANCOM router registers with a DeutschlandLAN SIP trunk of Deutsche Telekom.
- A SIP user account is configured on the LANCOM router, which is used by the Alcatel OXO Connect to register.
- SIP telephones connect to the Alcatel OXO Connect (also via VPN).
Procedure:
1) Running the Telekom SIP trunk wizard:
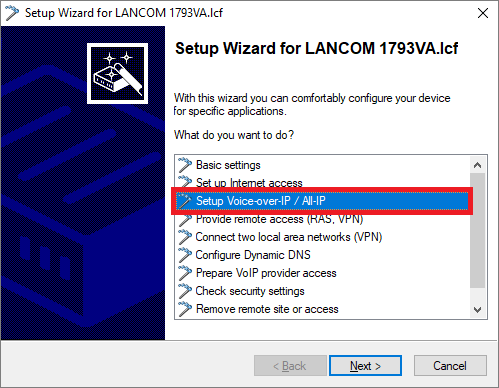
1.1) In LANconfig, right-click on the router and select the context-menu item Setup Wizard.
1.2) Select the Setup Wizard Setup Voice-over-IP/All-IP.
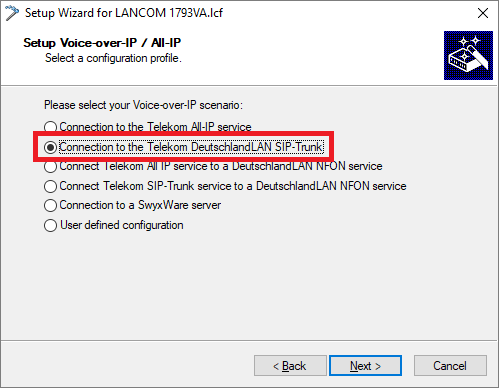
1.3) Run the wizard for the Connection to the Telekom DeutschlandLAN SIP trunk.
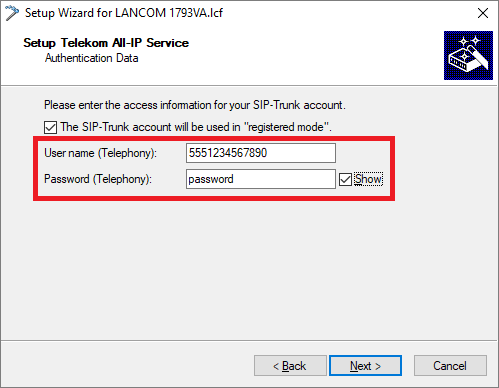
1.4) Enter the User name (Telephony) and the Password (Telephony) you received from Deutsche Telekom.
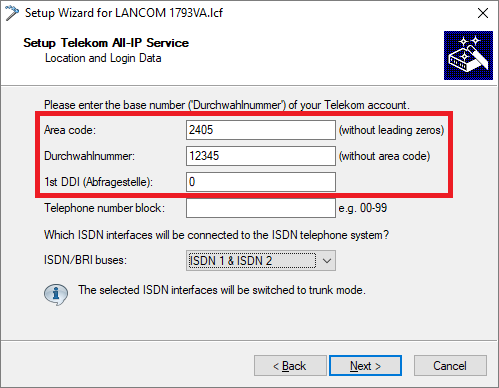
1.5) Enter the following parameters:
- Area code: Enter the area code of the telephone line without the leading zero.
- Durchwahlnummer: Enter the switchboard number as the Durchwahlnummer.
- 1st DDI (Abfragestelle): The usual entry for a Telekom DeutschlandLAN SIP trunk is 0.
1.6) Confirm the next step by clicking on Next.
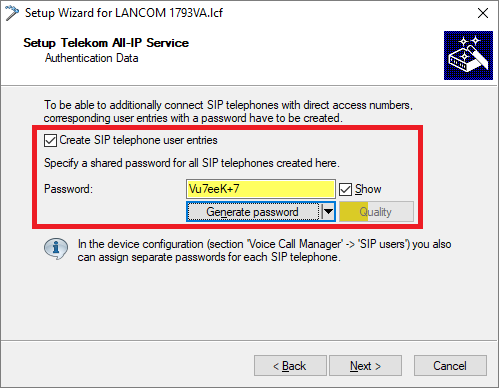
1.7) Check the option Create SIP telephone user entries and enter a Password of your choice.
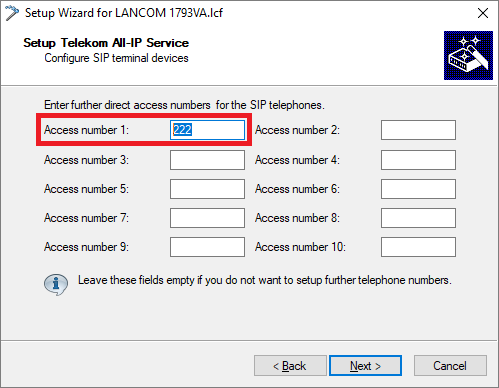
1.8) Enter any number in the Access number 1 field. It will be changed in step 2.5.
1.9) Confirm the following steps by clicking on Next.
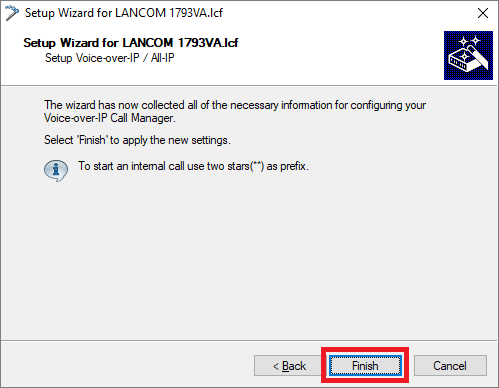
1.10) Click on Finish to close the Setup Wizard.
2) Manual configuration steps:
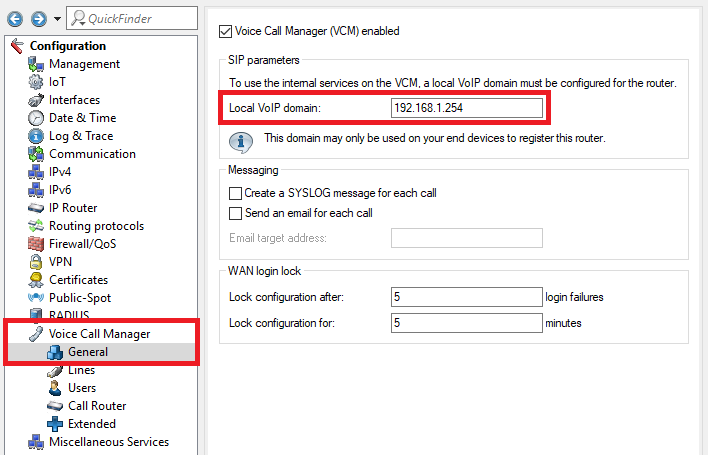
2.1) Open the configuration of the router in LANconfig, navigate to the menu Voice Call Manager -> General, and enter the IP address of the router in the Local VoIP domain field.
Note:
If multiple networks are configured on the LANCOM router, enter the IP address of the network the Alcatel OXO Connect is located in.
2.2) Navigate to the menu Voice Call Manager -> Lines-> SIP mapping.
2.3) Modify the Internal number for each of the four entries. It must be entered in the following format:
<country code><area code><switchboard number># (example: +49240512345#)
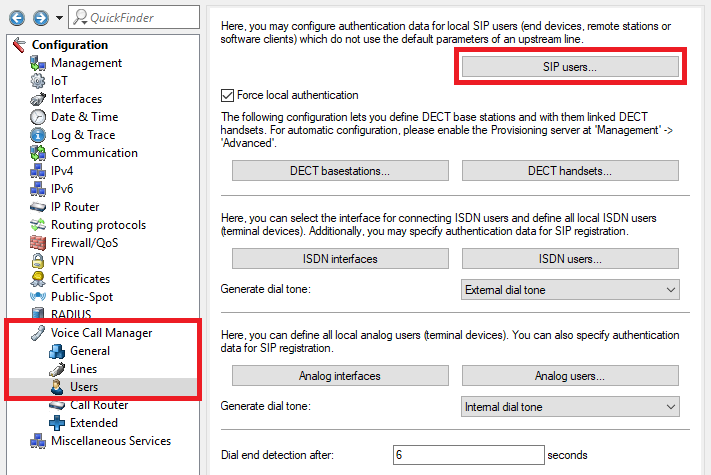
2.4) Navigate to the menu Voice Call Manager -> Users -> SIP Users.
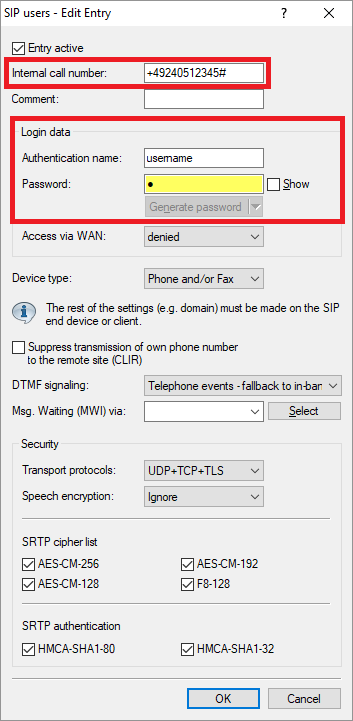
2.5) Edit the entry SIP users and modify the following parameters:
- Internal call number: Enter the Internal number modified in step 2.3.
- Authentication name: Enter an Authentication name of your choice to be used by the Alcatel OXO Connect when registering with the LANCOM router.
- Password: Enter a password of your choice to be used by the Alcatel OXO Connect when registering with the LANCOM router.
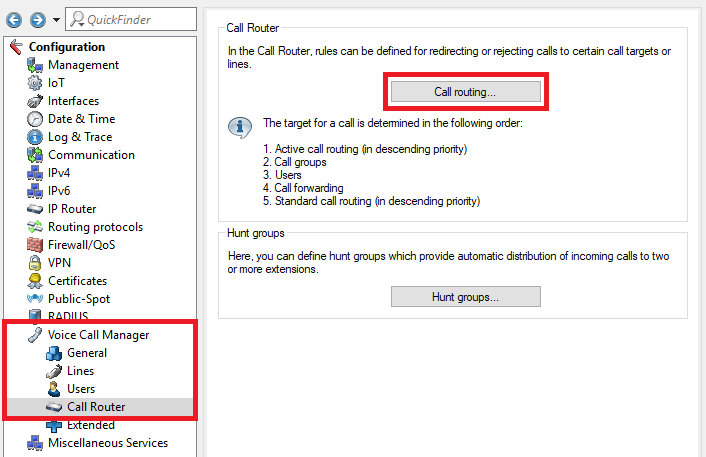
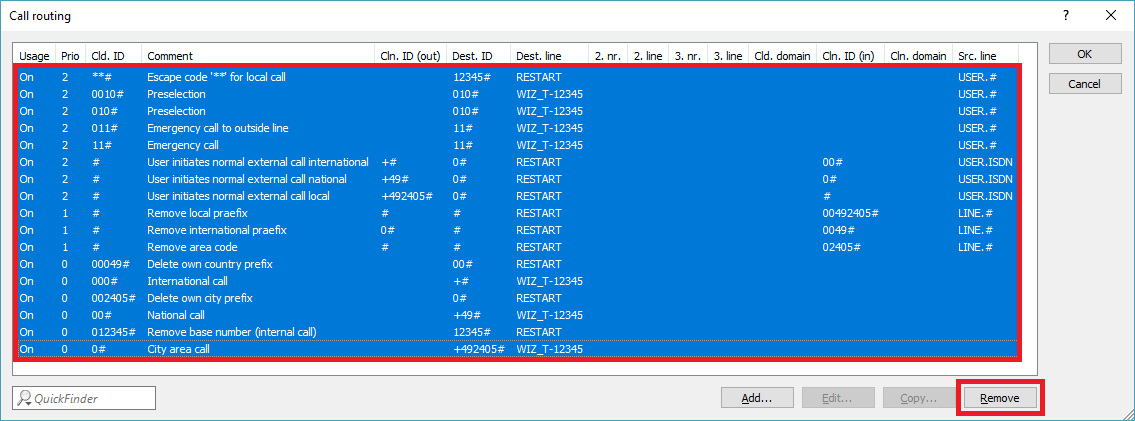
2.6) Navigate to the menu Voice Call Manager -> Call Router -> Call routing.
2.7 Remove all call routes.
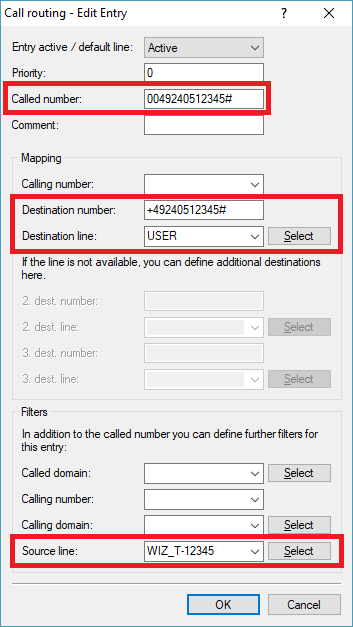
2.8) Create a call route and enter the following parameters:
- Called number: Enter the Internal number you modified in step 2.3 and replace the + by 00.
- Destination number: Enter the Internal number modified in step 2.3.
- Destination line: From the drop-down menu, select the line USER.
- Source line: From the drop-down menu, select the SIP line created in step 1.
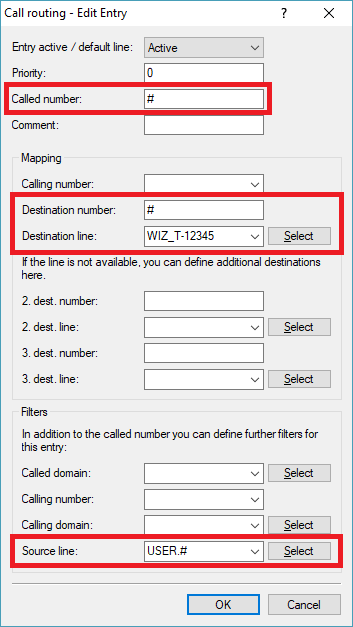
2.9) Create a second call route and enter the following parameters:
- Called number: Enter the wildcard #.
- Destination number: Enter the wildcard #.
- Destination line: From the drop-down menu, select the SIP line created in step 1.
- Source line: From the drop-down menu, select the line USER.#.
2.10) The call routing table should now look as follows:
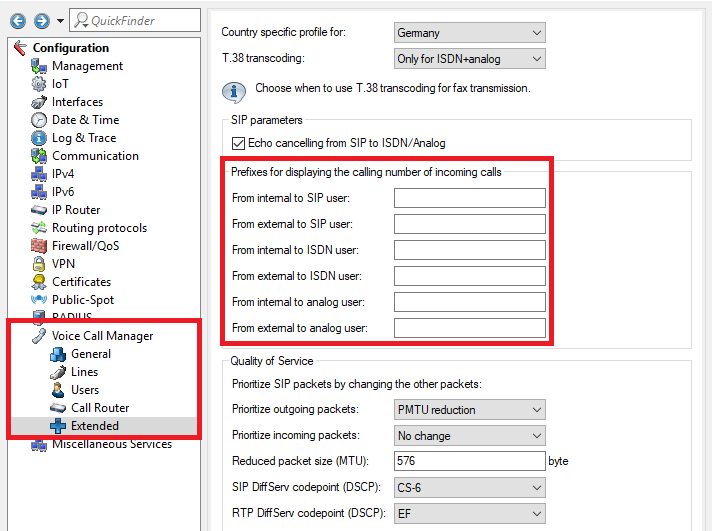
2.11) Navigate to the menu Voice Call Manager -> Extended and delete any existing Prefixes for displaying the calling number of incoming calls.
2.12) This completes the manual configuration steps. Write the configuration back to the router.
