
Description:
This article describes how to create a Wireshark trace on an LCOS LX Access Point via WEBconfig.
Please note, that the Wireshark capture cannot be created via the LMC webtunnel.
Requirements:
- LCOS LX as of version 5.30 Rel (download latest version)
- Any web browser for accessing WEBconfig
Procedure:
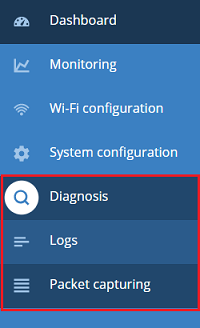
1) Connect to the Access Point via WEBconfig and go to the menu Diagnosiw → Packet capturing.
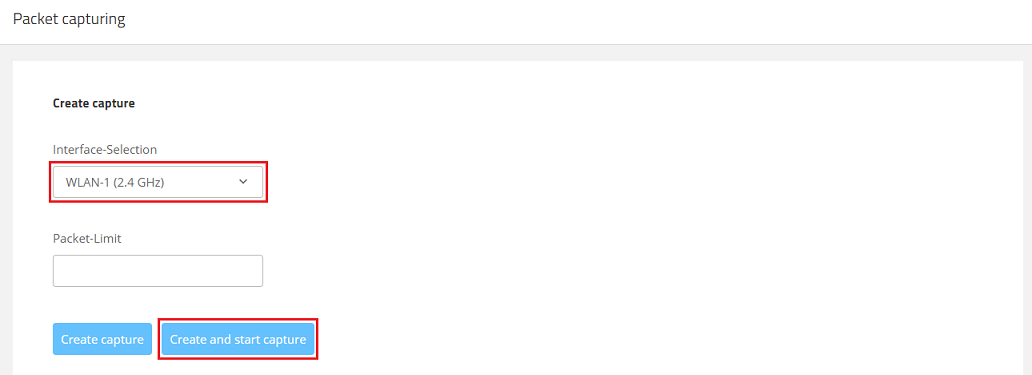
2) In the dropdown menu Interface-Selection select the interface you want a Wireshark trace to be created for and click Create and start capture afterwards.
It is also possible to create Wireshark traces for additional interfaces simultaneously. Repeat this step for an additional interface in order to do so.

3) The following actions can be used after starting the trace:
- By clicking the "Stop" symbol the trace is stopped.
- By clicking the "Garbage can" symbol the trace is aborted.

4) The following actions can be used after clicking the "Stop" symbol:
- By clicking the "Download" symbol the trace can be downloaded from the device and saved.
- By clicking the "Garbage can" symbol the trace is deleted.
