Description:
Requirements:
- LANtools as of version 7.80 (download latest firmware)
- LCOS as of version 7.80 (download latest firmware)
Procedure:
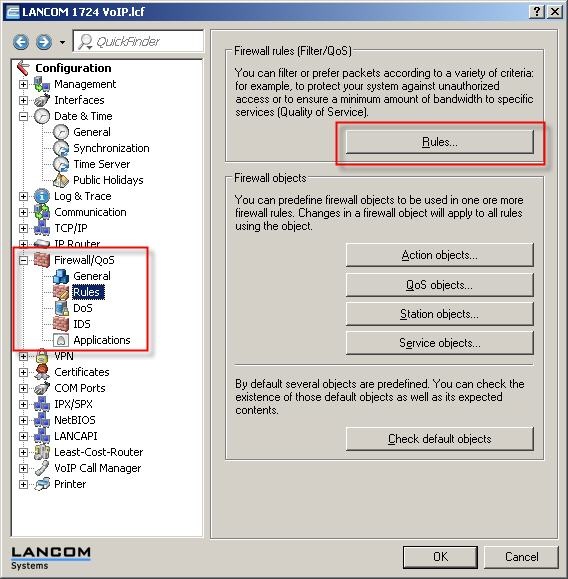

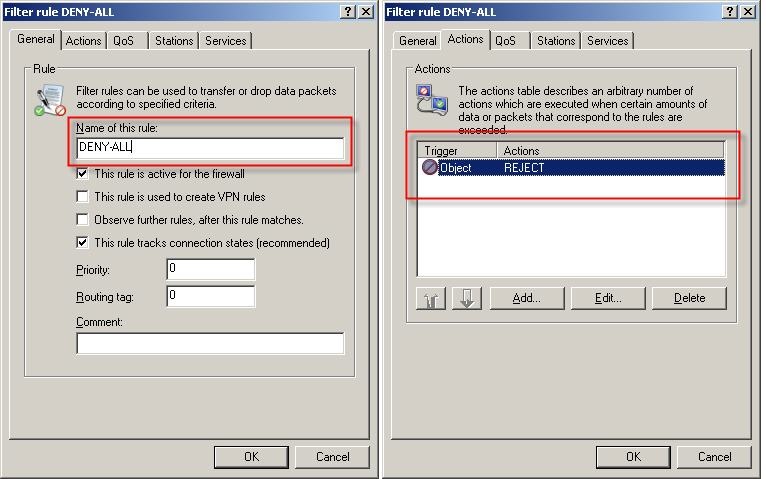
5) On the Stations tab, select under Connection source the option Connections from all stations and under Connection destination set the option Connections to all stations.
6) On the Services tab, specify that the rule applies for all protocols/source services and all protocols/target services.
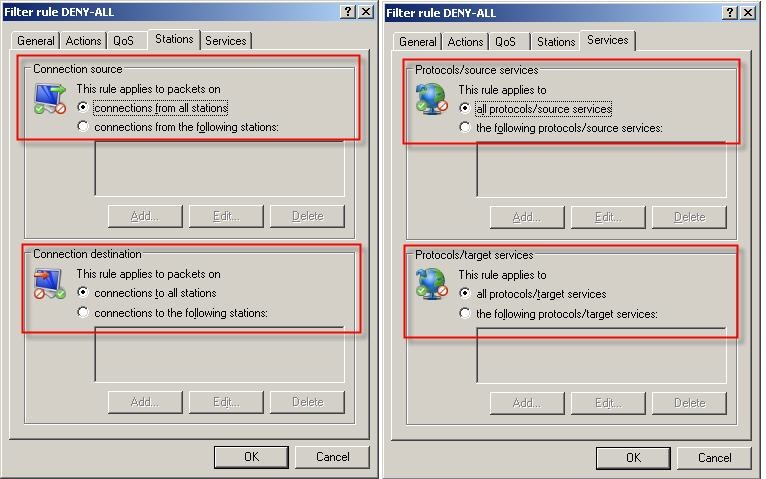
7) Then click on the OK button and exit the dialog for configuring the firewall rules.
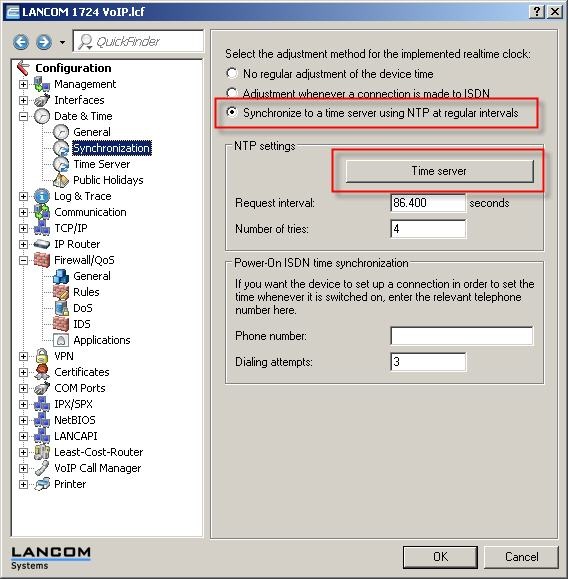
8) Cron table operations are time dependent, so it is necessary to synchronize the time via the router's NTP client. You can configure an NTP server in the router under Date & Time → Synchronization
9) Enable the option Synchronize to a time server using NTP at regular intervals and then click on the Time server button.
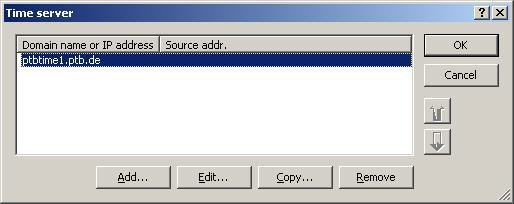
10) Add any time server from the list. Then close the dialog with OK.
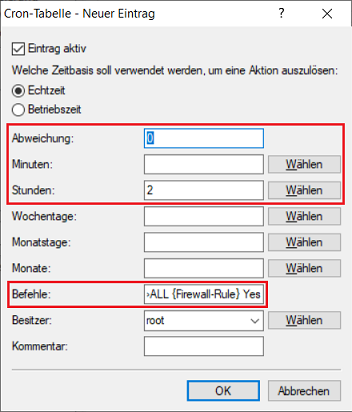
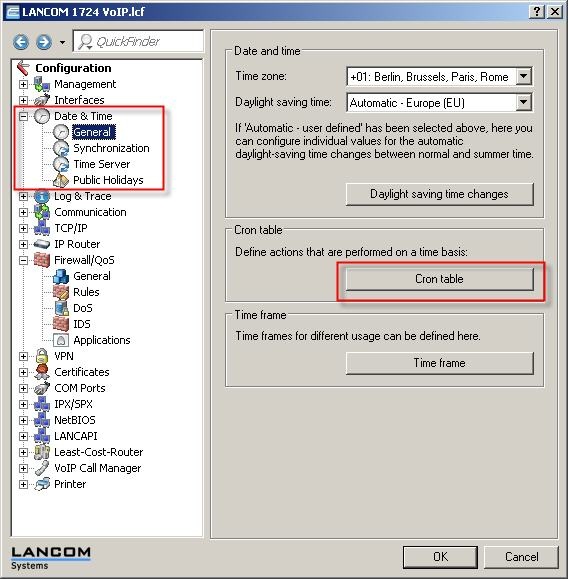
11) The next step is to go to the menu Date & Time → General and enter the following into the Cron table.
12) In this example, the firewall rule named DENY-ALL is automatically enabled at 02:00 AM. Enter the appropriate values under Hours and Minutes. In the Commands field, enter the shell command that enables the firewall rule.
The syntax is set Setup/IP-Router/Firewall/Rules/DENY-ALL {Firewall-Rule} Yes.
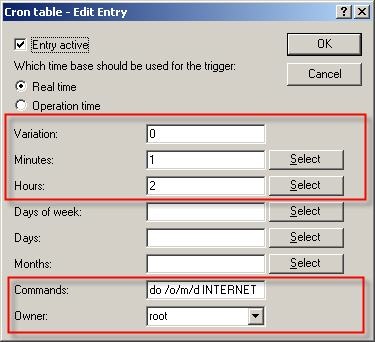
13) This rule only applies for new sessions. Existing connections can continue to be used. In order to disconnect these too, we recommend that you program an interruption of your Internet connection. To do this, create another entry in the Cron table as follows:
The syntax in the Commands field is do /o/m/d <name of Internet remote peer> (e.g. INTERNET).
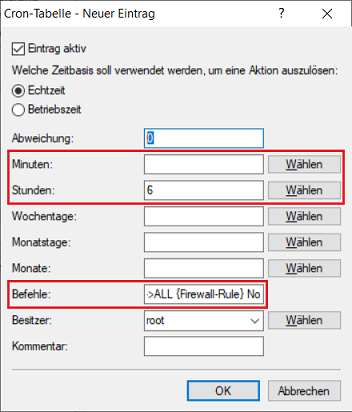
14) In this example, the firewall rule named DENY-ALL is automatically enabled at 6:00 AM. You will need to add a new entry to the cron table and enter the corresponding time in Hours and Minutes. In the Commands field, enter the shell command that disables the firewall rule.
The syntax is set Setup/IP-Router/Firewall/Rules/DENY-ALL {Firewall-Rule} No.
15) Close all configuration dialogs and write the configuration back to the LANCOM router.
