
| Deutsch | ||||||||||
|---|---|---|---|---|---|---|---|---|---|---|
VariablenUm die Nutzung der VariablesTo further extend the use of Add-ins we have the possibility to use variables. These can be used as read-only values within Add-in scripts. A variable consists of weiter auszubauen, besteht die Möglichkeit Variablen zu verwenden. Diese können als schreibgeschützte Werte in Add-ins verwendet werden. Eine Variable besteht aus den folgenden Parametern:
Variables can be created in the Add-in menu by selecting the variables button.
Variablen hinzufügen:A variable can be set the following places and follows a hierarchy where the last one overrides the previous ones.
For this, open the respective Variables view, and add the defined variables. As an example, here you can find the Variables menu on a device.
Defining a Variable TypeA variable is either of type
To define a new type click on the Variable Types button.
Next, click on Add new type.
Give the type a name (e.g. Switch), and add a number of selectable variable values, for example:
Click on Save to save your variable type.
We also support regular expression for variable types to limit the input for variables.
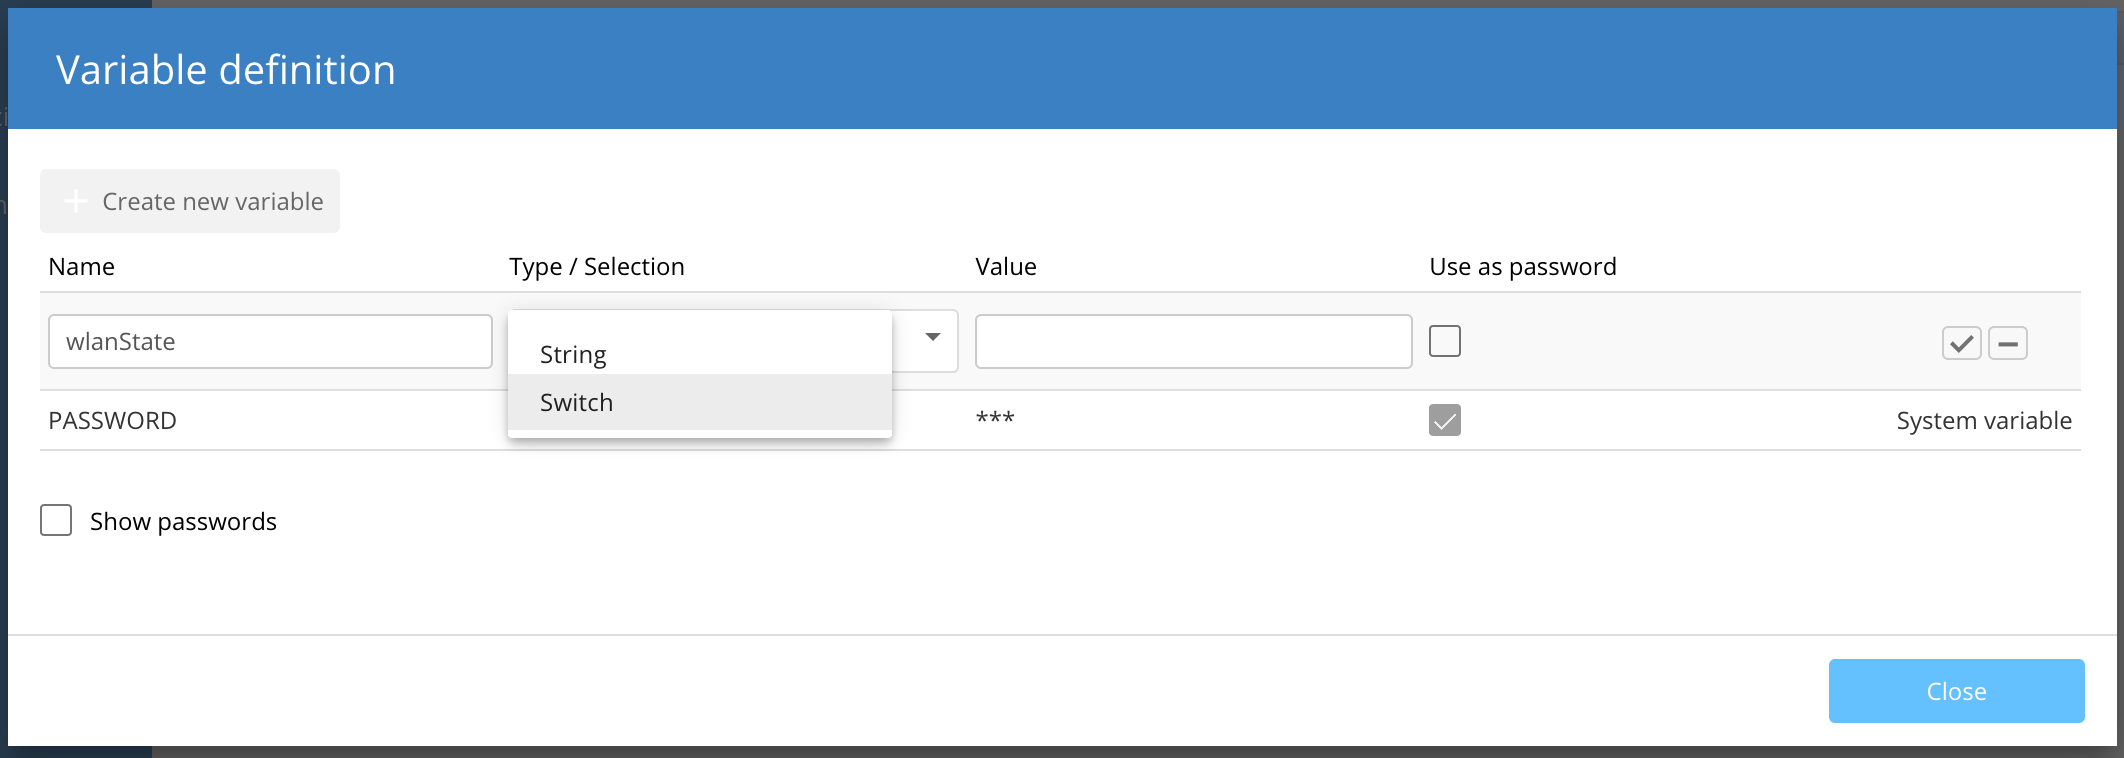
Defining a VariableTo define a new variable click on the Variable definition button. Provide a variable name and select the variable type from the drop down list.
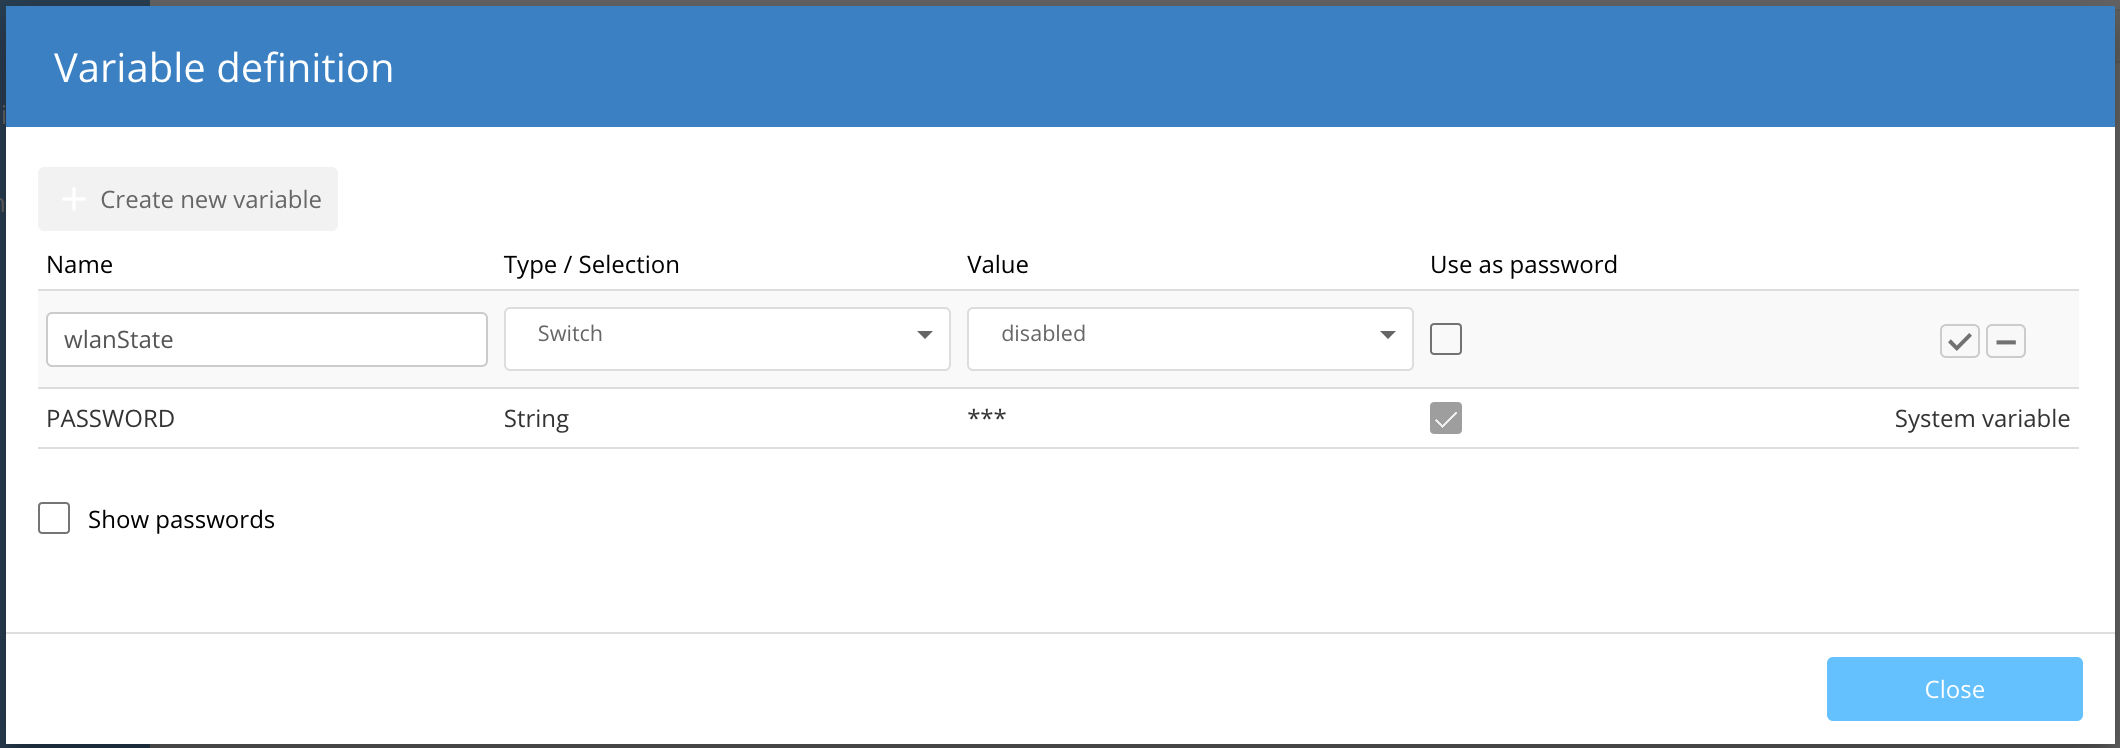
Select the default value of the variable from the previously defined selections of the variable type. Select the checkbox Use as password if you want to hide the contents within the UI with asterisks (
Click on the checkbox to save your variable definition.
Using variablesVariable values can be used using the object System variablesSystem variables manage specific aspects of the smart configuration.
Example for a status query: The following code snippet shows the general approach for a status query. Change the variables “Systemvariable” and “Value” according to your needs. Enter the actual Addin code under the commented line “Code will be executed, if variable is met.”. Available System variables:
ValuesWritingTo modify the configuration that is sent to a device you can use Changes made by The same can be achieved by using Changes made by ReadingThere is no equivalent |


| Englisch | ||||||||||
|---|---|---|---|---|---|---|---|---|---|---|
VariablesTo further extend the use of Add-ins we have the possibility to use variables. These can be used as read-only values within Add-in scripts. A variable consists of
Variables can be created in the Add-in menu by selecting the variables button.
A variable can be set the following places and follows a hierarchy where the last one overrides the previous ones.
For this, open the respective Variables view, and add the defined variables. As an example, here you can find the Variables menu on a device.
Defining a Variable TypeA variable is either of type To define a new type click on the Variable Types button.
Next, click on Add new type.
Give the type a name (e.g. Switch), and add a number of selectable variable values, for example:
Click on Save to save your variable type.
We also support regular expression for variable types to limit the input for variables.
Defining a VariableTo define a new variable click on the Variable definition button. Provide a variable name and select the variable type from the drop down list.
Select the default value of the variable from the previously defined selections of the variable type. Select the checkbox Use as password if you want to hide the contents within the UI with asterisks (
Click on the checkbox to save your variable definition.
Using variablesVariable values can be used using the object System variablesSystem variables manage specific aspects of the smart configuration.
Example for a status query: The following code snippet shows the general approach for a status query. Change the variables “Systemvariable” and “Value” according to your needs. Enter the actual Addin code under the commented line “Code will be executed, if variable is met.”. Available System variables:
ValuesWritingTo modify the configuration that is sent to a device you can use Changes made by The same can be achieved by using Changes made by ReadingThere is no equivalent |
...