
...
1.2) The first step is to create a Certification Authority (CA) for VPN connections.
- For the Certificate type, select Certificate.
- Certificate Authority must be selected as the template.
- Enter any Common Name
- In the drop-down menu "Type" of the window displayed at top left, select the option "CA for VPN/Webserver certificates".
- In the field "Private key size", select the value 4096 bit.
- Enter a common name of your choice (e.g. VPN_CA).
- Assign any private key password.
- Set a Validity validity period.Set any Private Key Password
- You can leave the settings Encryption Algorithm, Key Size and Hash Algorithm in the default.
1.3) Then click the Create button.
...
1.4) Click on the "+" icon to create a VPN certificate for the LANCOM Advanced VPN Client:
- For the Certificate type, select Certificate.
- Certificate must be selected as the template.
- In the Private key password field, enter the password that you assigned in step 1.2.
- Set a validity period.
- Select the VPN CA from step 1.2 as the "Signing CA".
- In the CA password field, enter the password that you assigned
- In the drop-down menu "Type" of the window displayed at top left, select the option "VPN certificate".
- Set the "Signing CA" to the VPN_CA from step 1.2.
- In the field "Private key size", select the value 4096 bit.
- Enter a common name of your choice (e.g."VPN_LANCOM_CLIENT").
- Set a Validity period.
- In the fields CA Password and Private Key Password, enter the password set in step 1.2.
- You can leave the settings Encryption Algorithm, Key Size and Hash Algorithm in the default.
1.5) Then click the Create button.
...
1.6) Click on the "+" icon to create a certificate for the LANCOM Advanced VPN Client:
- For the Certificate type, select Certificate.
- Certificate must be selected as the template.
- In the Private key password field, enter the password that you assigned in step 1.2.
- Set a validity period.
- Select the VPN
- In the drop-down menu "Type" of the window displayed at top left, select the option "VPN certificate".
- Set the "Signing CA" to the VPN_ CA from step 1.2 as the "Signing CA".
- In the CA password field "Private key size", select the value 4096 bit.
- Enter a common name of your choice (e.g."VPN_UNIFIED_FIREWALL").
- Set a Validity period.
- enter the password that you assigned in step 1.2.
- You can leave the settings Encryption Algorithm, Key Size and Hash Algorithm in the default.
- In the fields CA Password and Private Key Password, enter the password set in step 1.2.
...
- Authentication type: Select the option Certificate here.
- Local certificate: Here you select the VPN certificate created for the Unified Firewall in step 1.6.
- Private Key Password: Enter the password assigned in step 1.6.
- Remote certificate: Here you select the VPN certificate here created for the LANCOM Advanced VPN Client in step 1.4.
...
2.13) Change to the menu VPN → IPsec → Connections and, on the newly created Advanced VPN Client connection, click on the Export connection button.

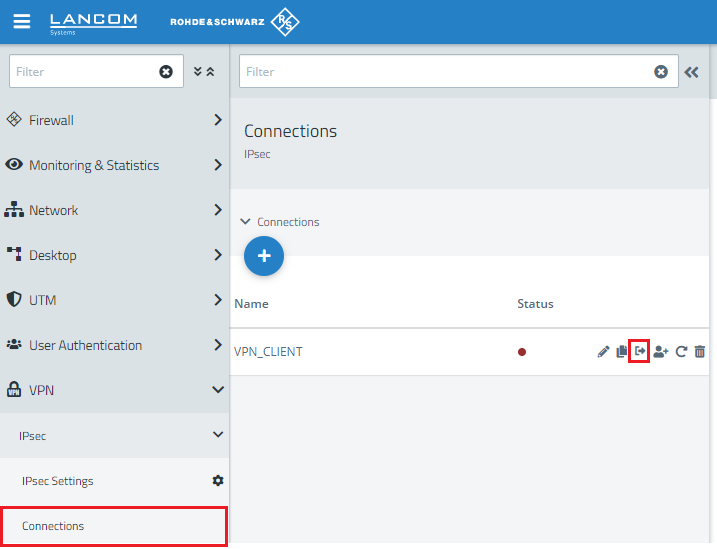
2.14) Enter a password to be used to encrypt the exported ZIP archive.
...
3.1) Change to the menu Certificate Management → Certificates and, for the VPN certificate for the LANCOM Advanced VPN Client, click the Export button.

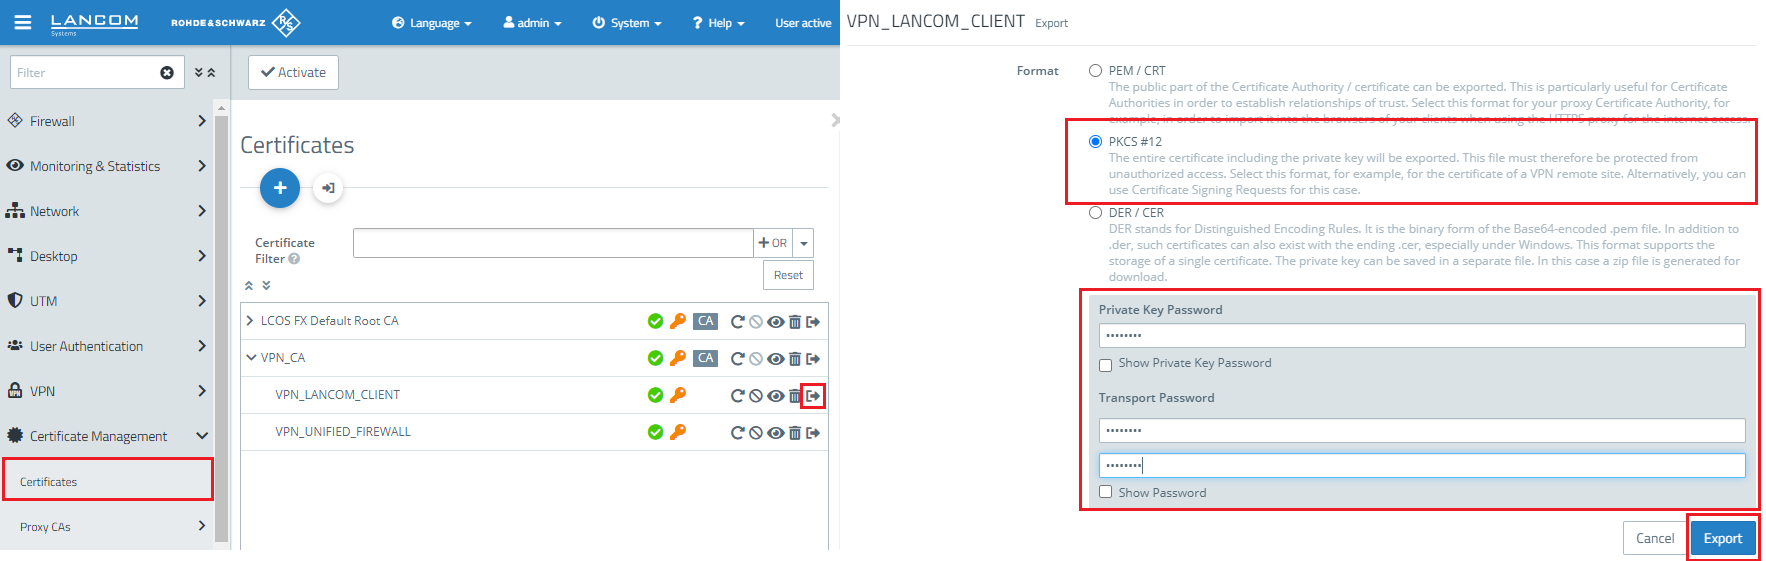
3.2) Set that PKCS 12 format.
...