
...
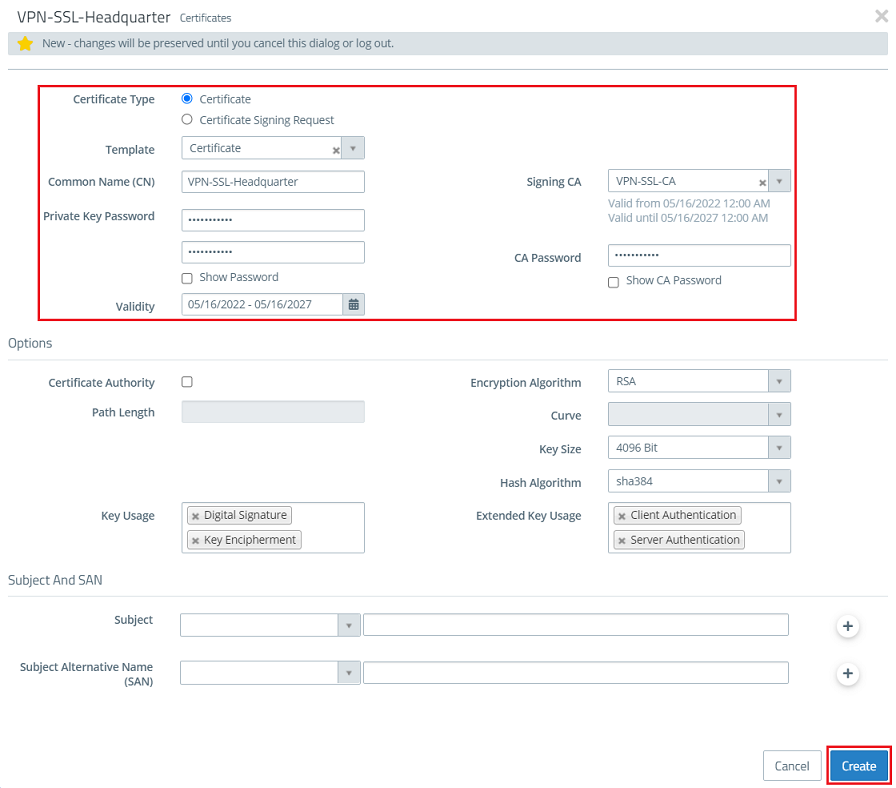
- Template: In the drop-down menu select the option Certificate.
- Common Name (CN): Enter a descriptive common name (in this example VPN-SSL-Headquarter).
- Private key password: Set a password. This is used to encrypt the private key.
- Validity: Specify how long the certificate should remain valid. For a VPN certificate used to accept VPN clients, the period of validity is usually set to be very high (in this example 5 years).
- Signing CA: From the drop-down menu, select the CA created in step 1.2.
- CA password: Enter the private key password set in step 1.2.
| Info |
|---|
The rest of the parameters (e.g. the encryption settings) can be left at the default values. |
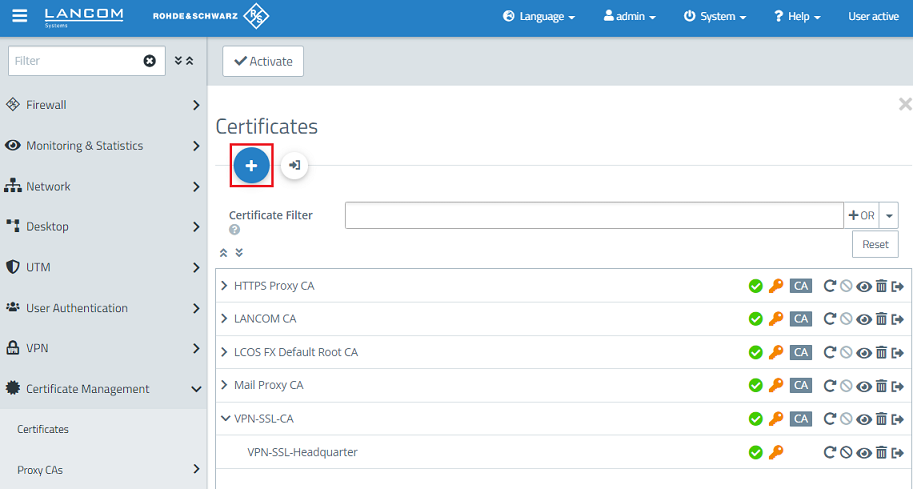
1.5) Create another certificate by clicking on the "+” icon. This is used for authenticating an individual VPN SSL user.
1.6) Modify the following parameters and click Create:
- Certificate type: Leave the setting on Certificate.
- Template: In the drop-down menu select the option Certificate.
- Common Name (CN): Enter a descriptive common name that characterizes the employees.
- Private key password: Set a password. This is used to encrypt the private key.
- Validity: Specify how long the certificate should remain valid. With VPN certificates for individual users, the period of validity is usually set quite low (in this example 1 year).
- Signing CA: From the drop-down menu, select the CA created in step 1.2.
- CA password: Enter the private key password set in step 1.2.
...