
...
This article describes how Split Tunneling can be configured in a VPN profile of the Advanced VPN Client.
| Info |
|---|
| Split tunneling is not automatically configured with the setup wizard to configure a VPN client connection on a LANCOM router! |
Requirements:
- Advanced VPN Client for Windows as of version 2.3 (download aktuelle Versionlatest version)
- Advanced VPN Client for macOS as of version 2.05 RU1 (download latest version)
Procedure:
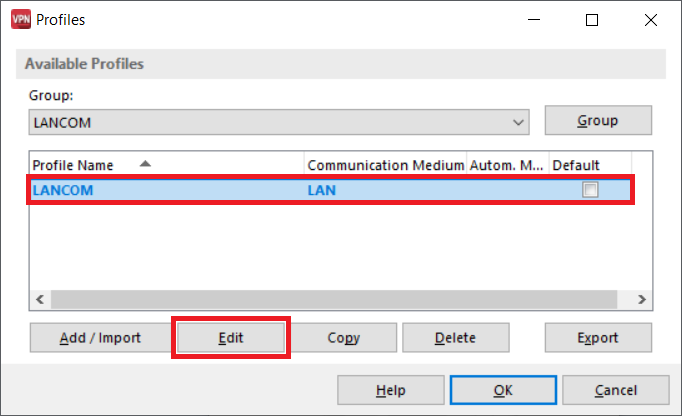
1. Open the Advanced VPN Client and click on Configuration → Profiles.
...
2. Select the utilized profile and click on Edit.
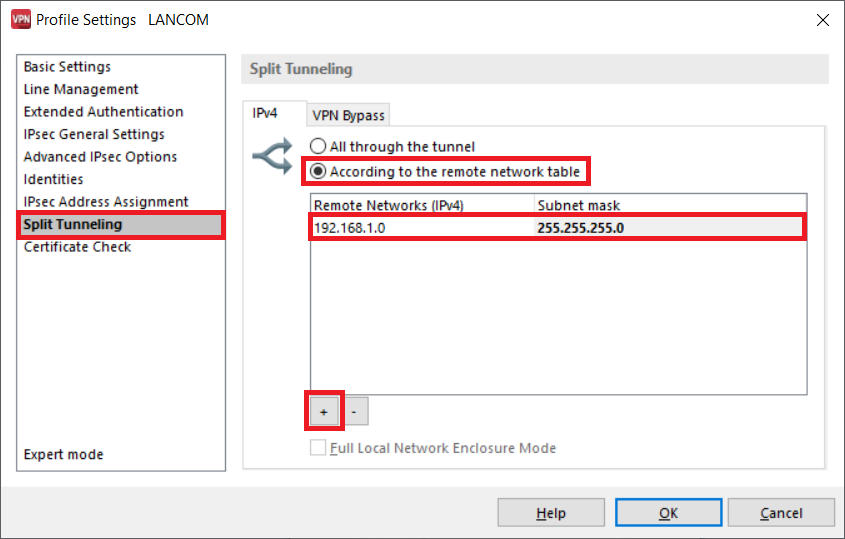
3. Change Go to the submenu Split Tunneling and select the option According to the remote network table.
Afterwards add a new entry via the "Plus" symbol and enter the network address as well as the associated subnet mask.
Note:
As of the Advanced VPN Client version 4.1 (Windows only), when using the mode All through the tunnel the traffic meant for the local network won't be routed via the VPN connection. In order for the local network traffic to be routed via the VPN connection, the checkbox Full Local Network Enclosure Mode has to be activated.
The Advanced VPN Client for macOS doesn't support this feature. Until the Split Tunneling is configured all traffic is routed via the VPN connection.
4. Click OK to save the profile.