
...
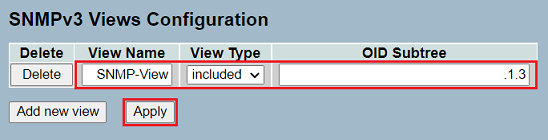
- View Name: Enter a descriptive name for the SNMP view (in this example SNMP-View).
- View Type: Make sure, that the option included is selected.
- OID Subtree: Enter the string .1.3. The OID path of LANCOM devices begins with this string.
1.8) Got Go to the menu System → SNMP → Access and click on Add new access to create the SNMP access.
...
1.9) Modify the following parameters and click Apply:
- Group Name: Make sure, that the SNMP group created in step 1.5) is selected.
- Security Model: In the dropdown menu select the option usm.
- Security Level: In the dropdown menu select the option Auth, Priv.
- Read View Name: Make sure, that the SNMP view created in step 1.7) is selected.
- Write View Name: Make sure, that the SNMP view created in step 1.7) is selected.
...
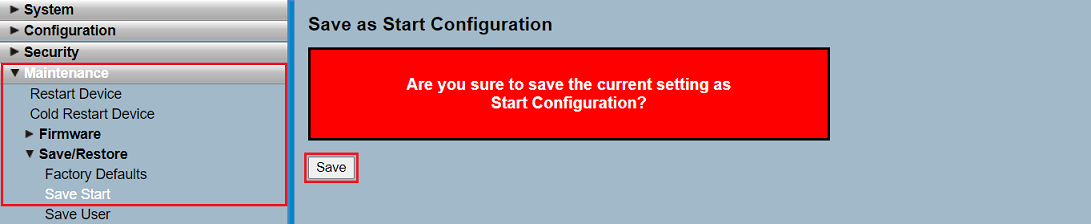
| Info |
|---|
The start configuration is retained even if the device is restarted or there is a power failure. |
. Überwachen des Switches per
2.1) Connect to the switch via the LANmonitor, make sure, that the protocol SNMP3 is selected and enter the login credentials for the SNMP user entered in step 1.3).
...