Versionen im Vergleich

Schlüssel

  • Diese Zeile wurde hinzugefügt.
  • Diese Zeile wurde entfernt.
  • Formatierung wurde geändert.
Seiteneigenschaften


Description:
This document describes how to integrate an access point or router into the LANCOM Management Cloud via the Rollout Wizard.


Requirements:


Procedure:
1. Open the configuration of the device that is to be integrated in the LMC in WEBconfig and execute the
function
function Setup-Wizards
->
Rollout. 
Info:
Info

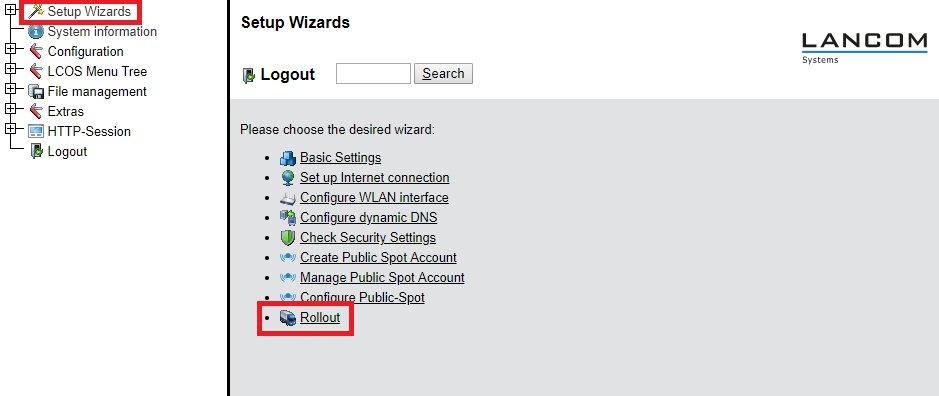
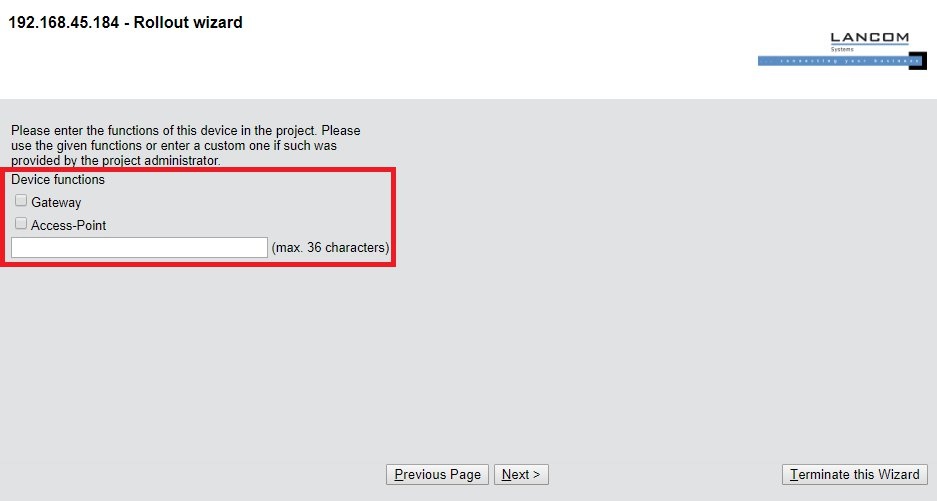
For inventory configurations, the Rollout Wizard may be disabled. This must then be activated in the LCOS Menu Tree

->

Setup

->

HTTP

->

Rollout

Wizard

Wizard menu by setting the parameter

Operational

Operational to Yes.

Image Removed
Image Added
2.
The
The Management-System "LANCOM Management Cloud (LMC)" is preselected. Confirm the entry with the Next button.
Image Removed
Image Added
3. Enter
the
the LMC domain to which the device should connect. If you connect to the LANCOM Public Cloud, this is always cloud.lancom.de.
Image Removed
Image Added
4. The Rollout Wizard uses a ping (ICMP Request) to check the availability of the LANCOM Management Cloud.
Info:
Info

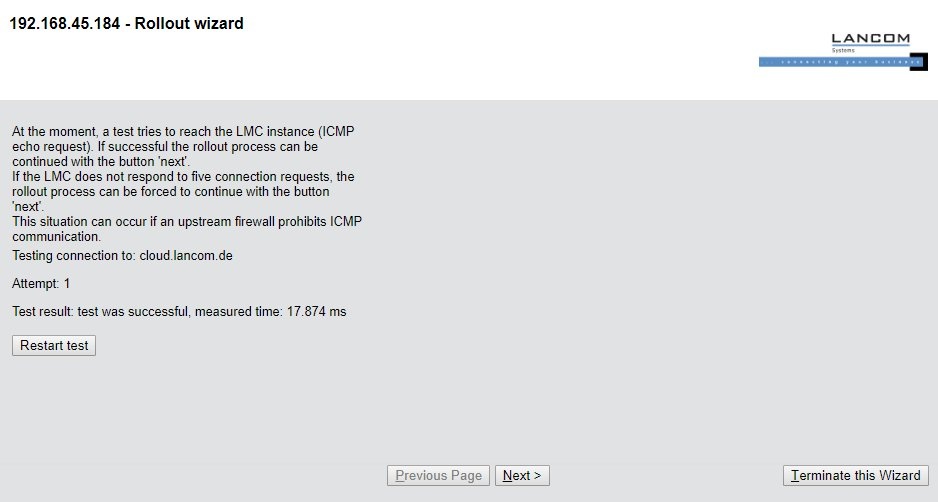
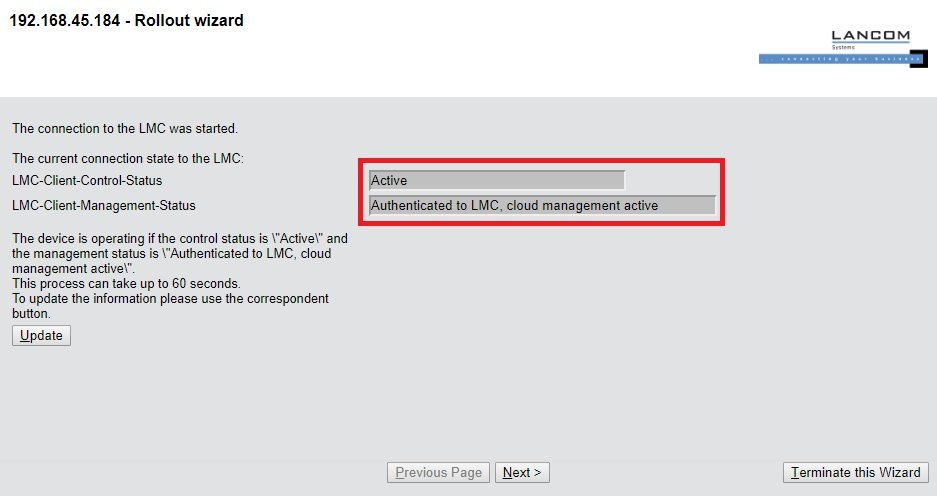
If the LMC can not be reached via a ping, the rollout assistant can still be continued via the button Next.

Image Removed
Image Added
5. The next dialog will show the connection status of the device to the LMC. The device is not yet connected to the LMC.
Image Removed
Image Added
6. To connect the device to the LMC, the activation code must be entered in the next dialog.
Info:
Info

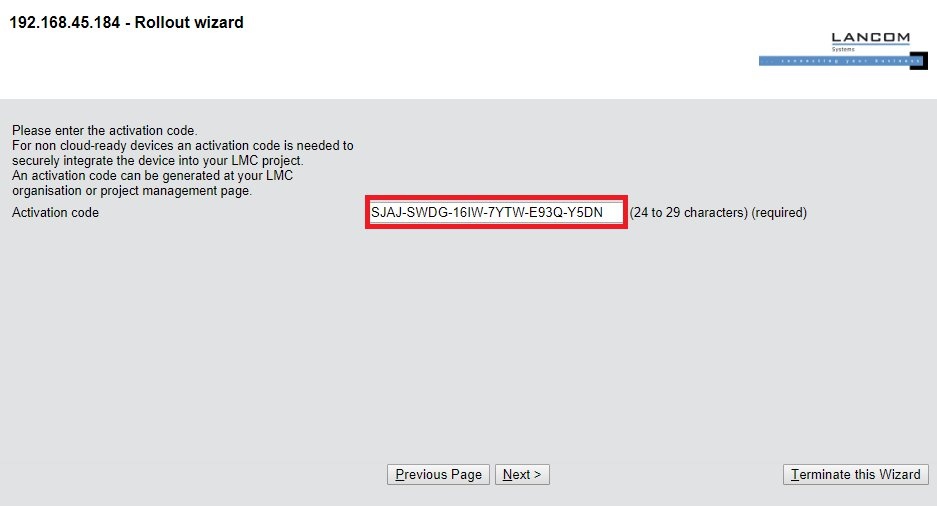
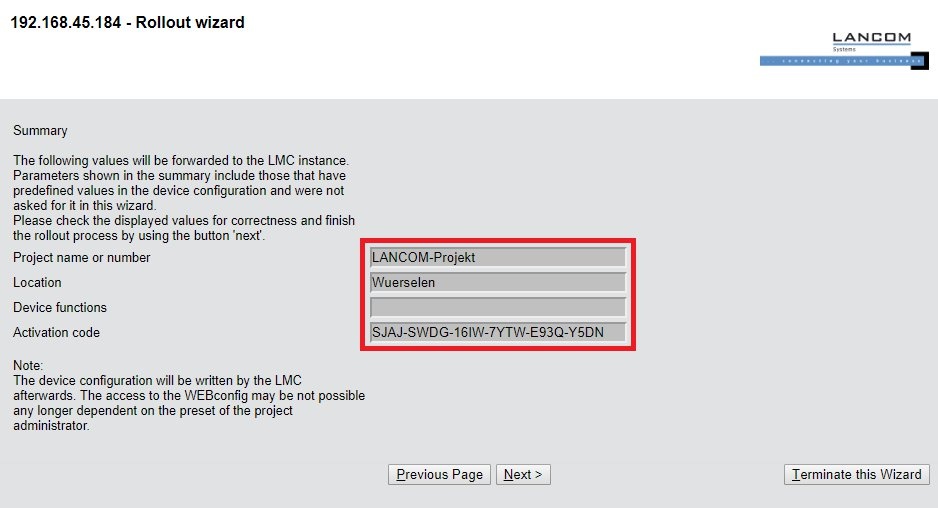
You can create an activation code for a device in the LMC under Devices

->

Activation Codes.

Image Removed
Image Added
7. Enter
a
project name or project number.
Image Removed
Image Added
8. Enter a location name.
Image Removed
Image Added
9. The following dialog can be confirmed
with
with Next as the LMC automatically selects the functions of the device.
Image Removed
Image Added
10. In some cases it may be useful to set the functions of the device manually. The information is available from your project administrator.
Image Removed
Image Added
11. The assigned parameters are displayed in an overview. By clicking on
the
the Next button, the parameters are transferred to the LMC.
Image Removed
Image Added
12. Finally, the connection status to the LMC is displayed. This can take up to 60 seconds.
Image Removed
Image Added