This document describes how you can use the integrated support wizard for the LANCOM Advanced VPN Client to easily generate all data that are needed to troubleshoot the problem in case of an error.
2. Select the data and information that you want to send to LANCOM Support. In the default settings, the data is already selected that is usually needed to diagnose a problem.
Image Removed
Image Added
3. Click on the Nextbutton. The files and information will now be generated.
Image Removed
Image Added
4. The following screen displays
a
a list of the collected dataagain. If necessary, data can be addedor removed. If you highlight a fileand press the showbutton, the contents of the file are displayed.
Image Removed
Image Added
5.
Click
Click Nextand in the next window select a location for the archive file that will be created.
Image Removed
Image Added
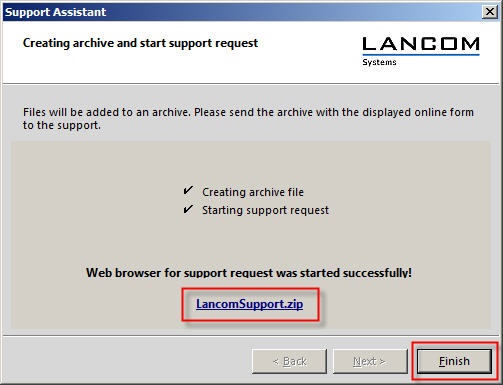
6. Subsequently, the archive file is created, and
then
then a web browser on the PCis started automatically.
7.Login in the LANCOM Support Portal and create a new ticket in which you attach the ZIP-File.
Information for LANCOM partners:
If you want to send the resulting archive file by e-mail to the support e-mail address that was given to you by LANCOM, click on
the
the LancomSupport.
zip
zip link in the concluding window.
Image Removed
Image Added
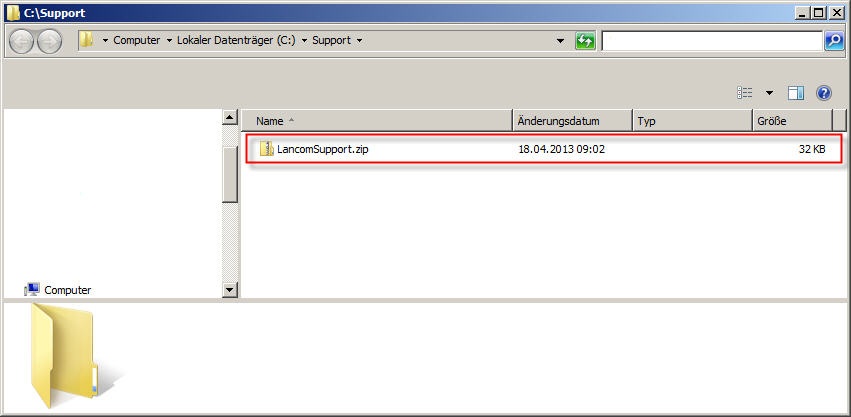
The
Location
Location for the archive file will be opened in the next window.
The
The archive
file
file must be sent by e-mail toLANCOM Partner Support.