Versionen im Vergleich

Schlüssel

  • Diese Zeile wurde hinzugefügt.
  • Diese Zeile wurde entfernt.
  • Formatierung wurde geändert.
Seiteneigenschaften


Description:

This document describes the configuration steps that you must perform on a Windows NPS server in order to use this as an external RADIUS server in conjunction with a LANCOM Access Point or LANCOM WLAN Controller.


Requirements:
  • Windows 2008 R2 NPS Server
  • A functional installed Windows Active Directory and a Windows CA (certificate server).


Configuration steps:

1) Installing and configuring the NPS server service:

1.1) In the Windows 2008 R2 server manager, start the wizard to Add server roles.

Make sure that the administrator account used to carry out this configuration has domain administrator rights.

1.2) Select the role Network policy and access services. Click on Next.
Image Removed

Image Added

1.3) Under Role services you select Network policy server.
Image Removed

Image Added

1.4) Click Next and continue until the wizard is finished. Click then on Install to perform the installation of the NPS service.

1.5) Once the NPS service is installed you continue by opening its configuration. Right-click on the list entry and select Register server in Active Directory.

By registering NPS with the Active Directory, the NPS server receives the right to validate user data in the Active Directory.
Image Removed


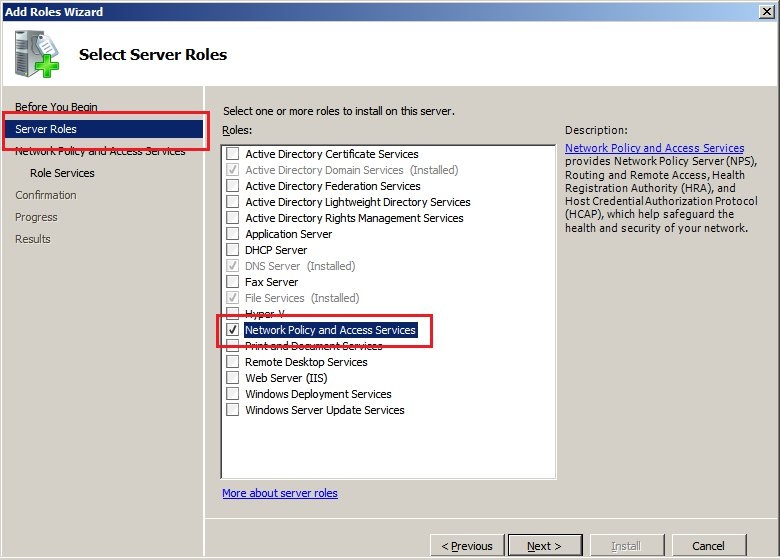
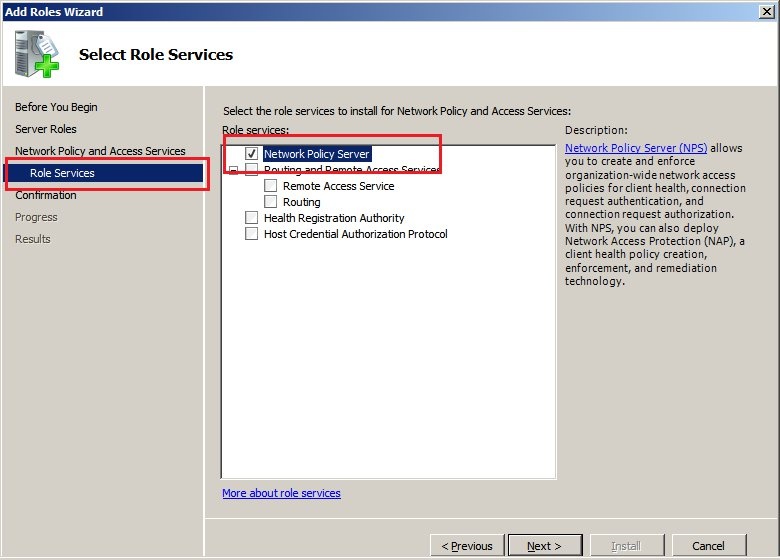
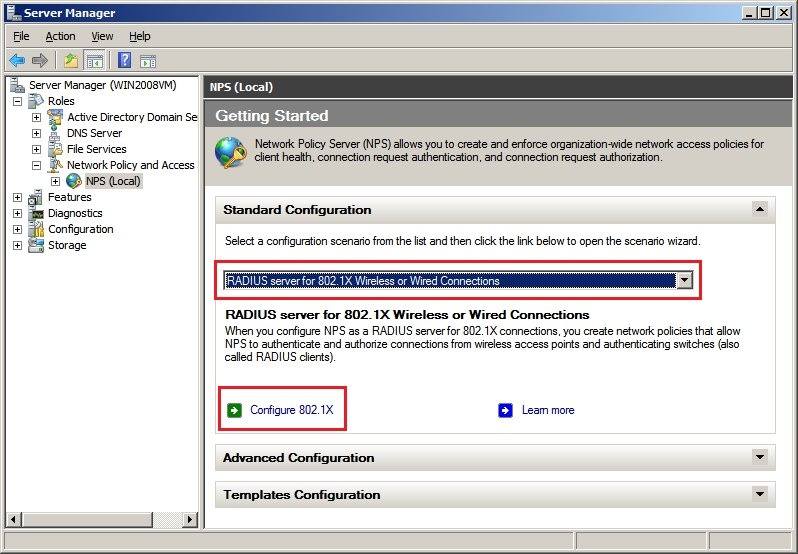
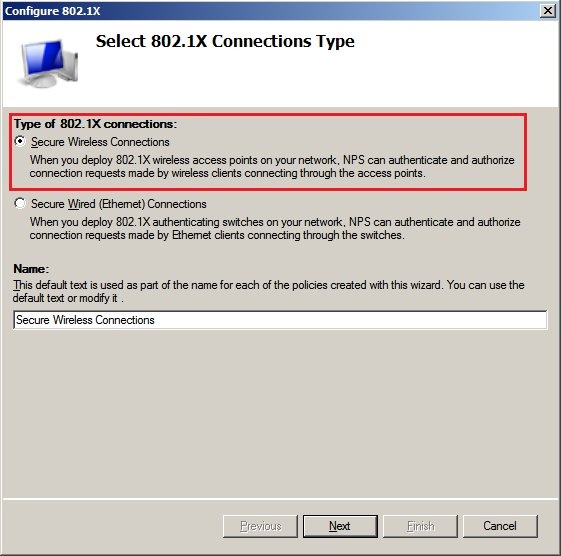
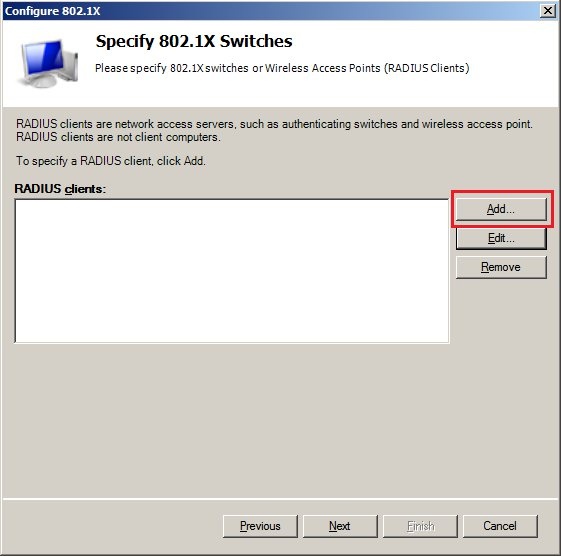
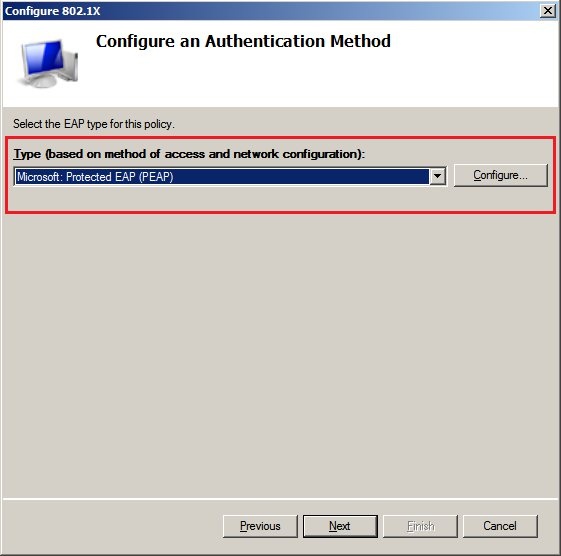
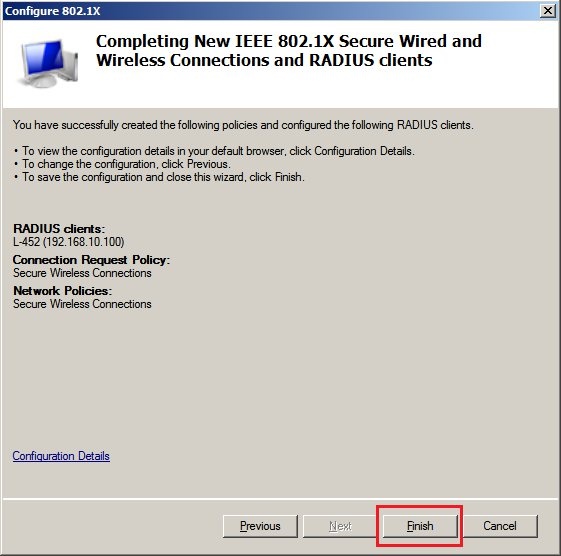
Image Added


2) This concludes the configuration of the LANCOM access point(s) or a LANCOM WLAN controller as a RADIUS client.

2.1) Open the configuration of the NPS server and, in the Standard configuration section, you create a configuration for the scenario RADIUS server for 802.1X wireless or wired connections.

2.2) Then click the Configure 802.11X link.
Image Removed

Image Added

2.3) In the next dialog you set the connection type to Secure wireless connections and click Next.
Image Removed

Image Added

2.4) Add a RADIUS client.
Image Removed

Image Added

2.5) Enter a Name and the Local IP address of the LANCOM access point(s) or LANCOM WLAN controller. The shared secret must be set to the passphrase entered in the LANCOM configuration.

2.6) Set the EAP type to Microsoft: Protected EAP (PEAP) and then click Configure...

2.7) Select the certificate used by the server to confirm its identity to the RADIUS client.
Image Removed

Image Added

2.8) In the next dialog you select the User groups for which this policy applies.
Image Removed

Image Added

2.9) The data traffic controls do not need to be configured.
Image Removed

Image Added

2.10) Click on Finish to conclude the 802.11X Wizard.
Image Removed

Image Added

2.11) The new entry is displayed in the RADIUS clients menu. Right-click on this entry and select Properties.
Image Removed

Image Added

2.12) Switch to the Advanced tab and enable the option "Access request".
Image Removed

Image Added

2.13) Now close the dialogs with the OK button. This concludes the configuration of the NPC server.


3) Configuration steps on the WLAN client (e.g. a Windows notebook):

3.1) Open the Manage Wireless Networks dialog and click on Add.
Image Removed

Image Added

3.2) In the subsequent window select the option Manually create a network profile.
Image Removed

Image Added

3.3) In the field Network name you enter the name of the SSID (in this case Demo-RADIUS). Set the value for Security type to WPA2-Enterprise and the Encryption type to AES. Click on Next.
Image Removed

Image Added

3.4) In the subsequent window click on Change connection settings.
Image Removed

Image Added

3.5) On the Security tab, the EAP type Microsoft: Protected EAP (PEAP) must be set. Now click on the Settings button.
Image Removed

Image Added

3.6) Enable the option Validate server certificate and, in the box below, select the relevant Trusted root certification authority for the certificate from the list. For the Authentication method select Secure password (EAP-MSCHAPv2).
Image Removed

Image Added
Note:
  • When you click the
Configure
  • button, you can optionally chose to use your own Windows credentials to connect to the WLAN. If you do not select this option, you are required to enter the access credentials each time you connect to the WLAN.
Image Removed


Image Added

3.7) Click the Advanced settings button.
Image Removed

Image Added

3.8) Enable the option Specify authentication mode and choose User or computer authentication.
Image Removed

Image Added

3.9) Click OK to accept your settings.

3.10) Now connect to the WLAN network.

Because user authentication was selected here, you will be asked for a valid domain account. Enter the login data for a valid domain user account. You will then connect to the WLAN network.
Image Removed

Image Added