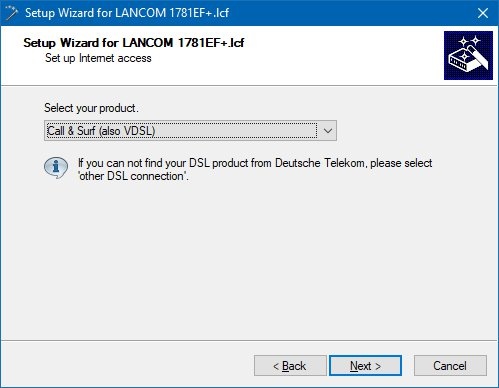
Modem router in LANconfig and go to the menu Interfaces → LAN → Ethernet ports.
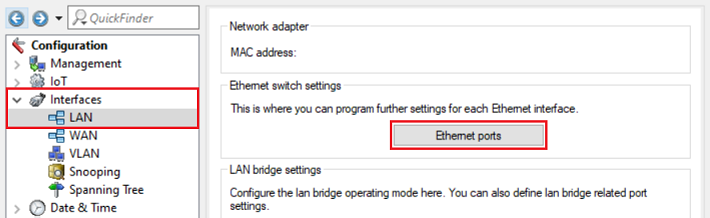 Image Modified
1.3) Edit the Ethernet port to be used for administration of the router (in this example ETH 1) and make sure that the logical interface LAN-1 is assigned to it.
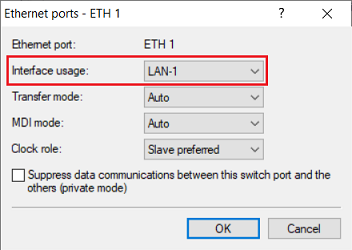 Image Modified
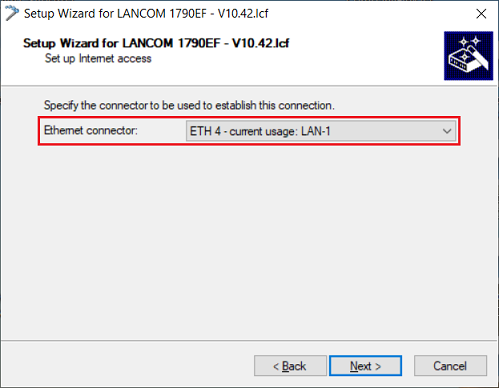
1.4) Edit an unused Ethernet port to be used for the connection to the gateway router (in this example ETH 4) and select the interface LAN-2 as Interface usage.
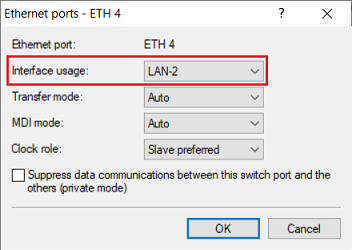 Image Modified
1.5) Go to the menu Interfaces → LAN → LAN bridge.
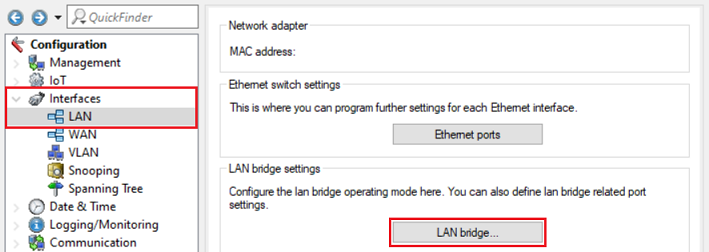 Image Modified
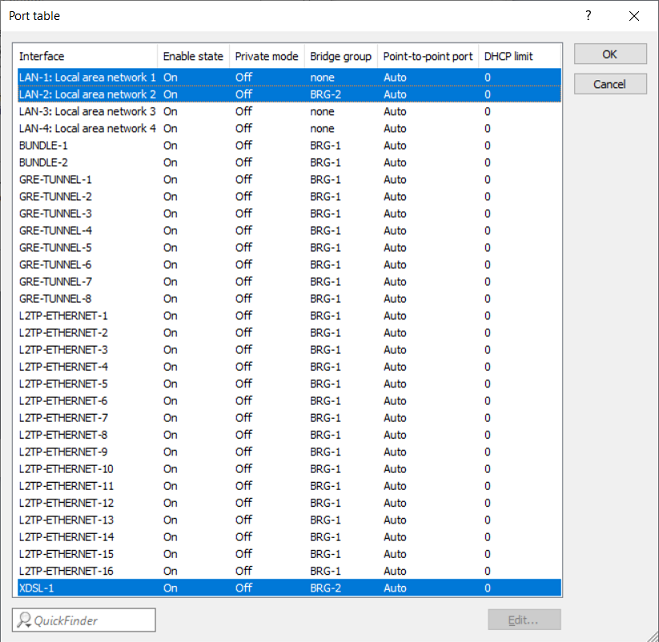
1.6) Make sure, that the option Connect by using a bridge (default) is selected and switch to the menu Port table afterwards.
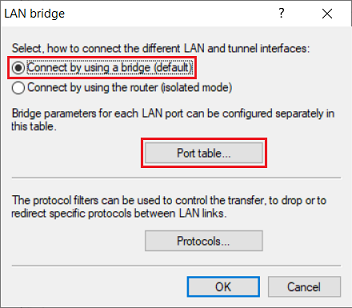 Image Modified
1.7) Make sure, that no Bridge group is assigned to the logical interface LAN-1.
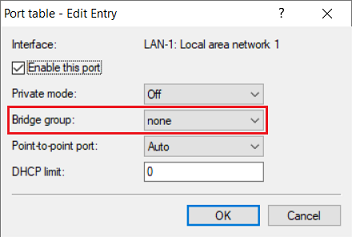 Image Modified
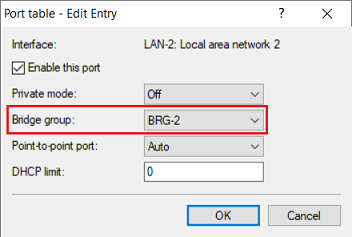
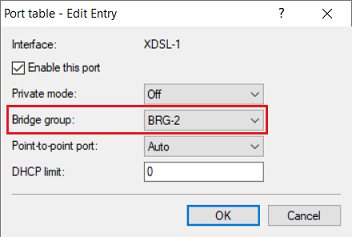
1.8) Edit the LAN interface selected in step 1.4