This article describes how to set up an Internet connection with a static IP address on a Unified Firewall (e.g. cable Internet or SDSL) and assign it to an Internet object on the desktop.
1) Setting up the network connection for Internet access:
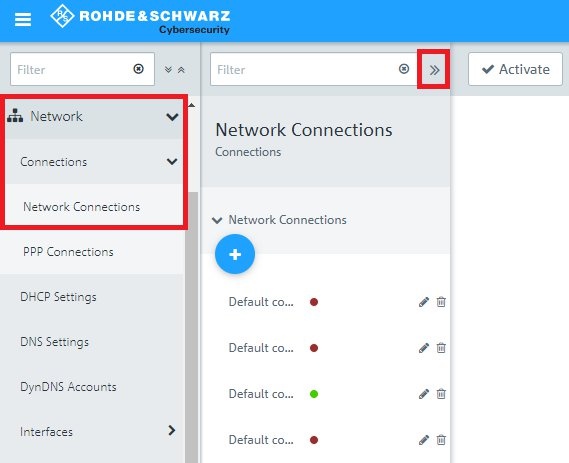
1.1) Open the configuration interface of the Unified Firewall in your browser, change to the menu Network
-> Connections -> Network
→ Connections → Network Connectionsand click on the chevron icon to enter the advanced view.
Image Removed
Image Added
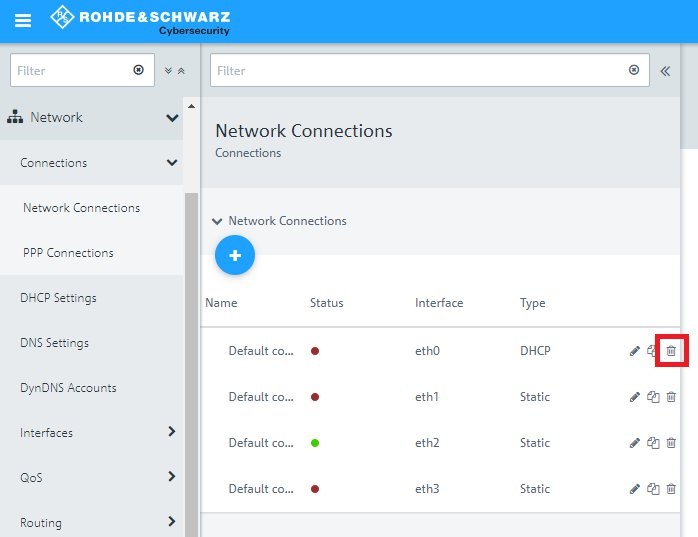
1.2) Delete the entry for the interface eth0.
Info:
Info
By default the interface eth0is set to DHCP.
Image Removed
Image Added
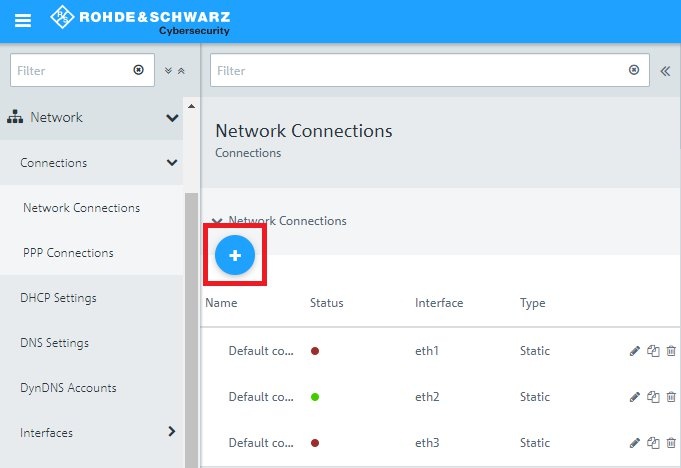
1.3) Click on the “+” icon to create a new connection.
Image Removed
Image Added
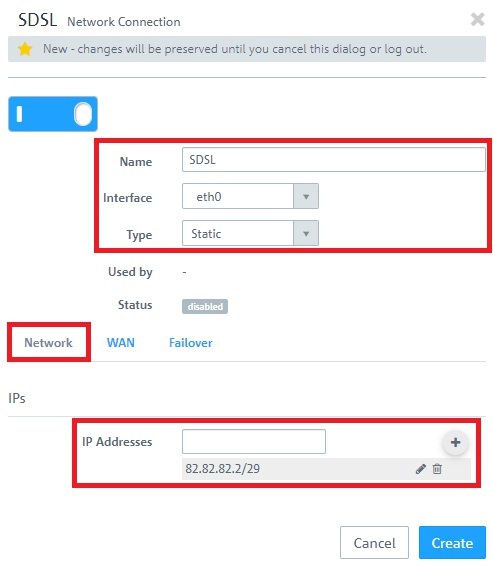
1.4) Modify the following parameters:
Name: Enter a descriptive name.
Interface: From the drop-down menu, select the interface eth0.
Type: Select Staticfrom the drop-down menu.
IP Addresses: Enter the IP address assigned by the provider along with the subnet mask. This has to be entered in CIDRnotation (Classless Inter-Domain Routing) (e.g. 81.81.81.2/29).
Image Removed
Image Added
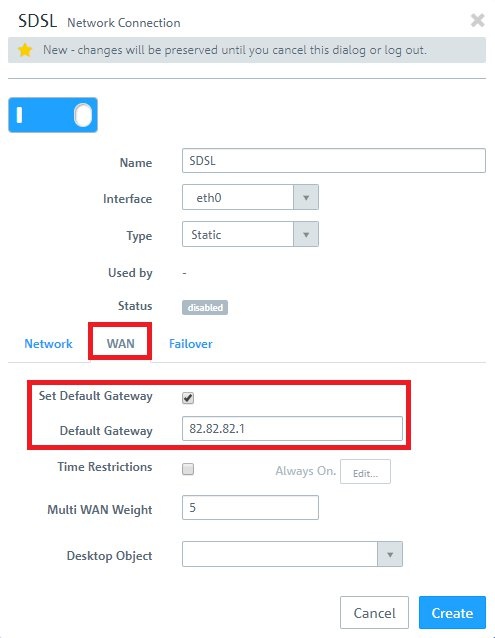
1.5) Change to the WANtab and modify the following parameters:
Set a checkmark next to Set default gateway.
Default Gateway: Enter the provider router’s IP address, which you have received from your provider.
Image Removed
Image Added
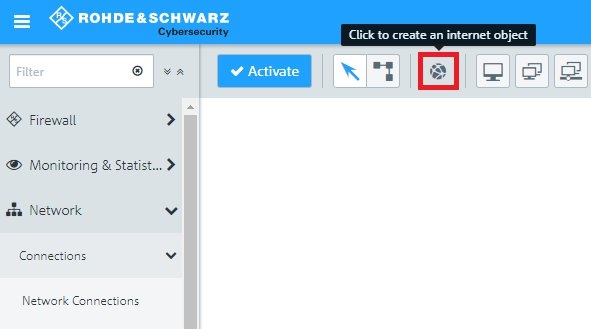
2) Create a desktop object for the Internet connection:
2.1) Click the button to Create an Internet object.
Image Removed
Image Added
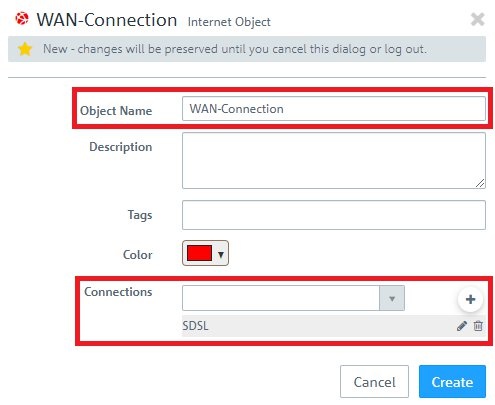
2.2) Enter the following parameters:
Object Name: Enter a descriptive name.
Connections: From the drop-down menu, select the WAN Objectcreated in steps 1.4 – 1.5and click on the “+” icon to add the object.
Image Removed
Image Added
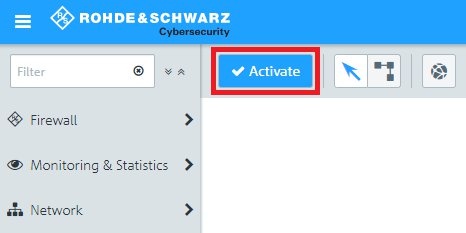
3) Saving and activating the configuration steps:
3.1) Click on the Activatebutton to accept the changes and enable filtering.