
Description:
This article describes how to configure separate access keys for every member in a WiFi network on a LANCOM access point with LCOS LX by means of LEPS-MAC (LANCOM Enhanced Passphrase Security).
On LANCOM Access Points with LCOS LX LEPS-MAC can only be used with WPA2.
Requirements:
- LCOS LX as of version 5.34 RU2 (download latest version)
- LANtools as of version 10.50 (download latest version)
- Configured and functional WiFi network with WPA2 encryption
Procedure:
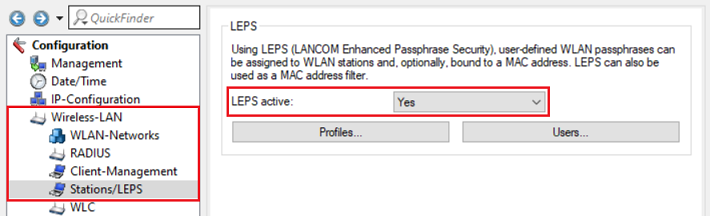
1. Öffnen Sie die Konfiguration des Access Points in LANconfig, wechseln in das Menüs Wireless-LAN → Stationen/LEPS und wählen bei LEPS aktiviert die Option Ja aus.
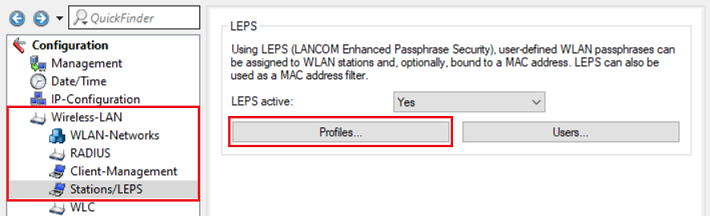
2. Wechseln Sie in das Menü Profile.
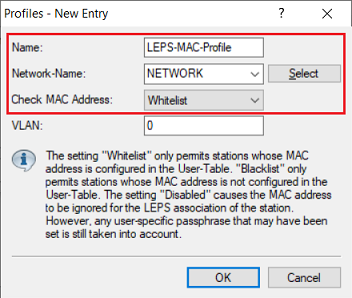
3. Erstellen Sie ein neues Profil und passen folgende Parameter an:
- Name: Vergeben Sie einen aussagekräftigen Namen für das LEPS-MAC Profil.
- Netzwerkname: Wählen Sie im Dropdownmenü das bereits bestehende WLAN-Netzwerk aus.
- MAC-Adresse prüfen: Wählen Sie im Dropdownmenü die Option Whitelist aus. Dadurch wird der WLAN-Zugriff nur für die hinterlegten Teilnehmer erlaubt und für alle anderen Teilnehmer unterbunden.
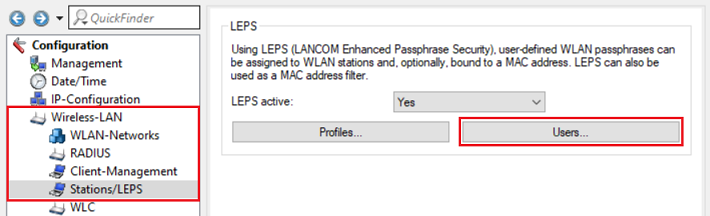
4. Wechseln Sie in das Menü Benutzer.
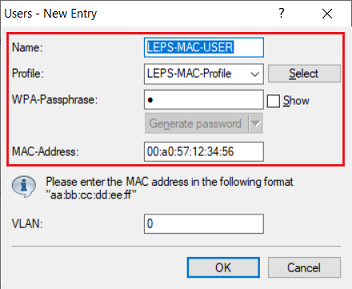
5. Erstellen Sie einen neuen Benutzer und passen folgende Parameter an:
- Name: Vergeben Sie einen aussagekräftigen Namen für den LEPS-Benutzer.
- Profil: Wählen Sie im Dropdownmenü das in Schritt 3. erstellte LEPS-Profil aus.
- WPA-Passphrase: Tragen Sie optional einen WPA-Key (8 bis 64 Zeichen) ein, der auf dem WLAN-Endgerät anstelle des in dem WLAN-Netzwerk hinterlegten Keys eingegeben werden muss. So kann für jeden Benutzer ein eigener WPA-Key hinterlegt werden. Bleibt der Eintrag leer, so wird der WPA-Key des WLAN-Netzwerks verwendet.
- MAC-Adresse: Tragen Sie die MAC-Adresse des WLAN-Endgerätes im Format 00:a0:57:12:34:56 ein.
Repeat this step for additional WiFi devices if needed.
6) This concludes the configuration of LEPS-MAC. Write back the configuration into the access point.