Description:
This article describes how to set up an Internet connection with a static IP address on a Unified Firewall (e.g. cable Internet or SDSL) and assign it to an Internet object on the desktop.
Requirements:
- LANCOM R&S® Unified Firewall with firmware as of version 10.2
- Web browser for configuring the Unified Firewall.
The following browsers are supported:- Google Chrome
- Chromium
- Mozilla Firefox
- Internet access via upstream provider router
Procedure:
1) Setting up the network connection for Internet access:
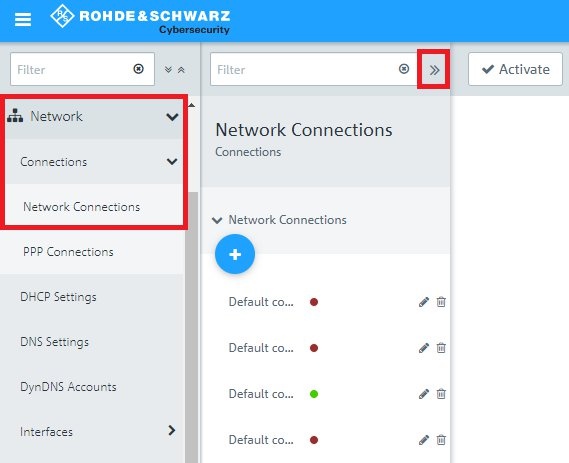
1.1) Open the configuration interface of the Unified Firewall in your browser, change to the menu Network → Connections → Network Connections and click on the chevron icon to enter the advanced view.
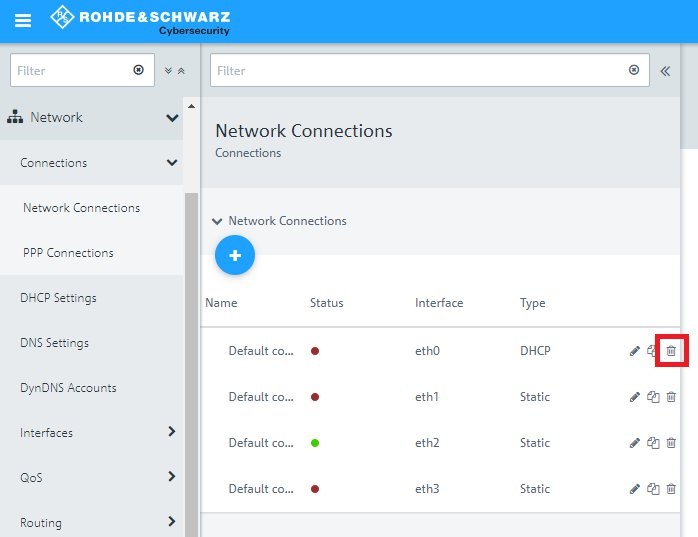
1.2) Delete the entry for the interface eth0.
By default the interface eth0 is set to DHCP .
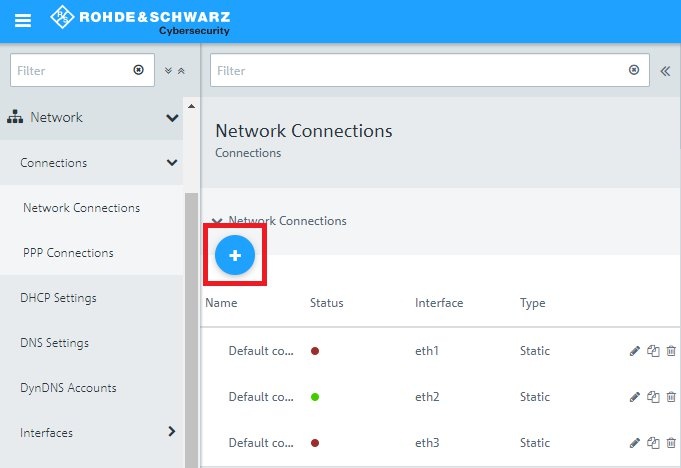
1.3) Click on the “+” icon to create a new connection.
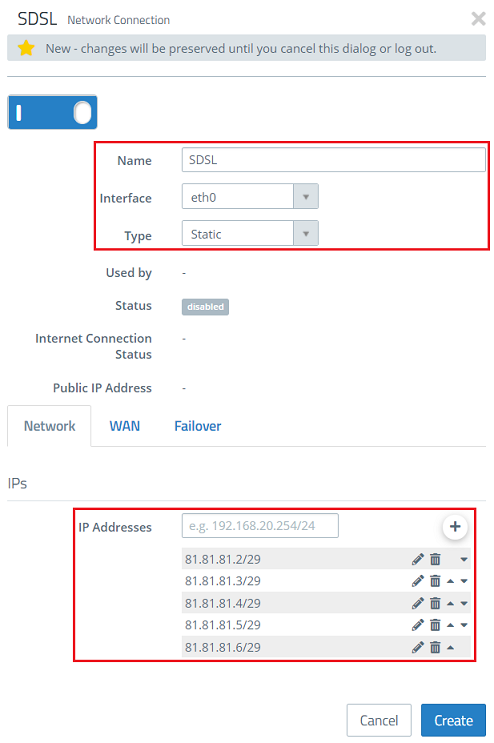
1.4) Modify the following parameters:
- Name: Enter a descriptive name.
- Interface: From the drop-down menu, select the interface eth0.
- Type: Select Static from the drop-down menu.
- IP Addresses: Enter the IP addresses assigned by the provider along with the subnet mask. These have to be entered in CIDR notation (Classless Inter-Domain Routing) (e.g. 81.81.81.2/29).
The first IP address is always used for general communication . If necessary, change the order of the IP addresses via the arrow symbols.
In this example the IP address range 81.81.81.1/29 is used with a total of 8 IP addresses . Of these 5 IP addresses are usable.
- 81.81.81.0: This is the network address and therefore it cannot be used .
- 81.81.81.1: In this example this IP address is used by the Gateway (Provider router) and therefore it cannot be used.
- 81.81.81.2 - 81.81.81.6: These IP addresses aren't reserved otherwise and therefore can be assigned to the Unified Firewall and used freely .
- 81.81.81.7: This is the Broadcast address and therefore it cannot be used .
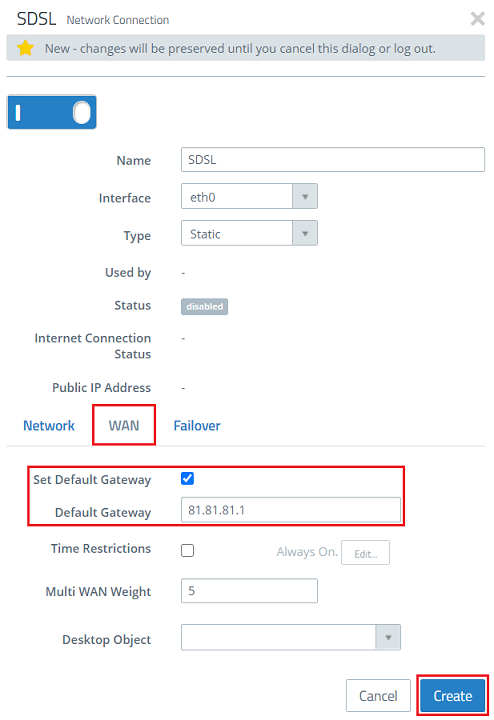
1.5) Change to the WAN tab and modify the following parameters:
- Set a checkmark next to Set default gateway.
- Default Gateway: Enter the provider router’s IP address, which you have received from your provider.
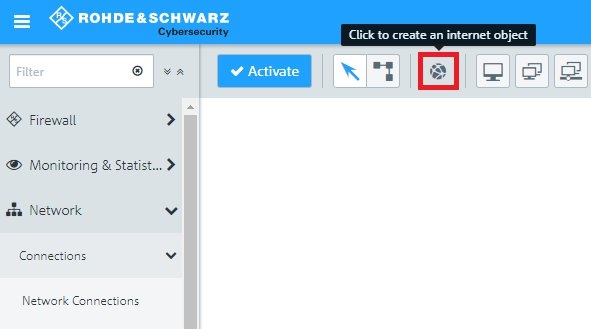
2) Create a desktop object for the Internet connection:
2.1) Click the button to Create an Internet object.
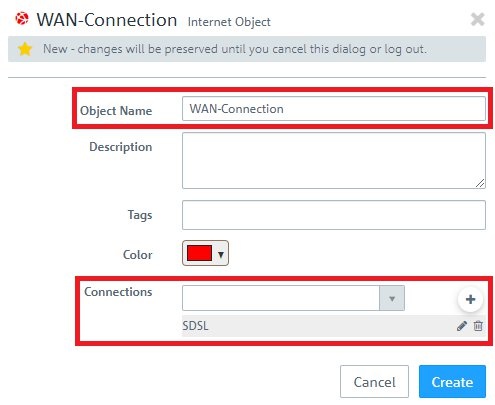
2.2) Enter the following parameters:
- Object Name: Enter a descriptive name.
- Connections: From the drop-down menu, select the WAN Object created in steps 1.4 – 1.5 and click on the “+” icon to add the object.
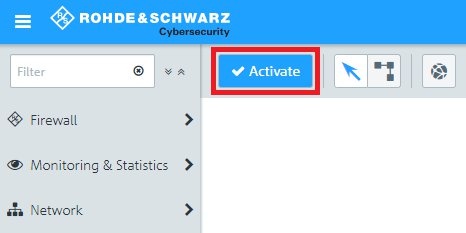
3) Saving and activating the configuration steps:
3.1) Click on the Activate button to accept the changes and enable filtering.