
Description:
This document describes how to perform a manual update of the LCOS FX firmware on a LANCOM R&S®Unified Firewall by means of an “*.iso” firmware file.
Requirements:
Requirements:
- Licensed LANCOM R&S®Unified Firewall
- USB 2.0 stick with max. 32GB storage capacity. USB 3.0 sticks and very large sticks (>32GB) sometimes cause problems for the BIOS in Unified Firewalls.
- USB installer for creating a bootable USB stick (available in the myLANCOM Firewall License Portal)
- ISO image file (*.iso) of the firewall operating system LCOS FX (available in the LANcommunity portal)
- License file that you received when you registered your device
If you purchased your Unified Firewall from Deutsche Telekom, please contact Telekom Customer Service to receive the USB installer and the ISO image file.
Procedure:
1) Manually create a backup file from the Unified Firewall:
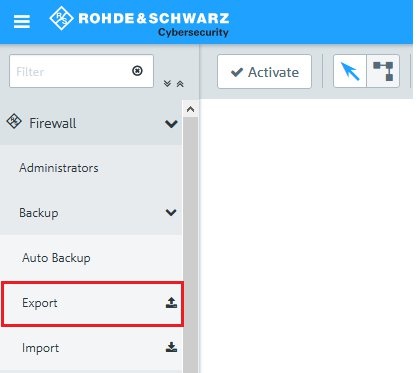
1.1) In the menu Firewall → Backup, select the option Export.
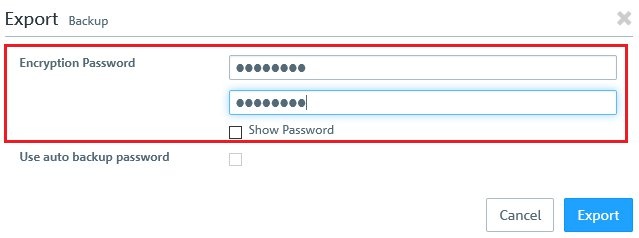
1.2) In the following dialog, set a password for the backup file and click Export.
1.3) Save the backup file on your local computer.
1.4) Change the file extension of the backup file from *.bak to *.gp (e.g. firewall_2019-08-29_09-36.gp)
2) Creating a bootable USB stick:
It is possible, that security software installed on the computer falsely detects the creation of the bootable USB stick as harmful and stops the copying process. The installation of a Unified Firewall with this USB stick won't be possible. In this case, please add the USB installer as an exception in the security software.
2.1) Download the file of the USB installer. The software does not have to be installed.
2.2) Download the ISO image file of the firewall operating system.
2.3) Insert a USB stick into your PC.
2.4) Start the USB installer software (rsuf_stick_10_2.exe) with administrator rights.
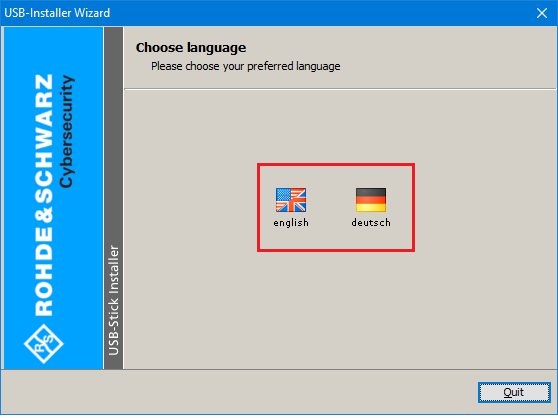
2.5) Select the desired language.
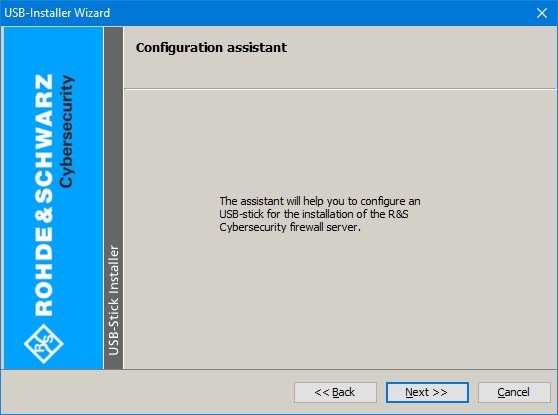
2.6) Click Next to start the wizard.
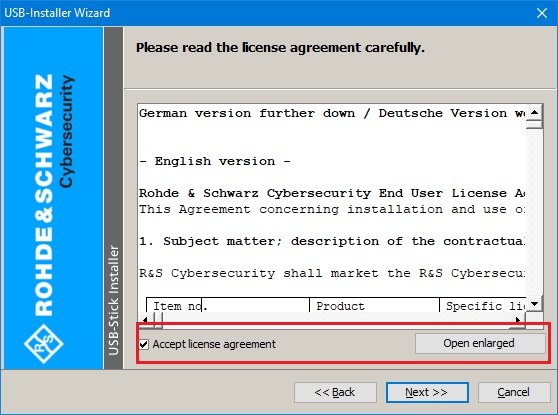
2.7) Accept the license agreement and click Next.
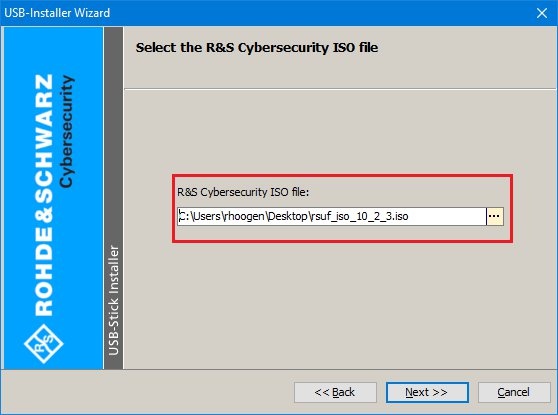
2.8) Select the path to the downloaded ISO image file.
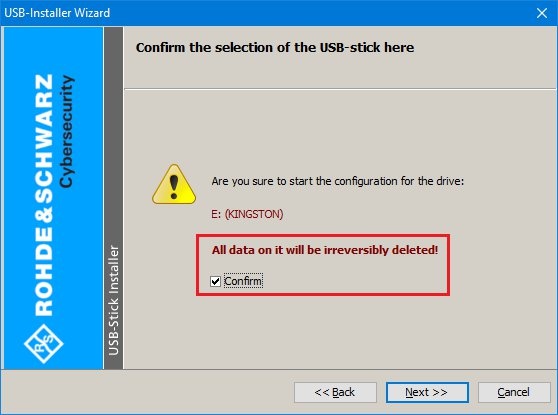
2.9) Select the USB mass storage device where the image is to be installed.

2.10) Any data on the USB storage device will be irretrievably deleted during this process!
Confirm the process by activating the option.
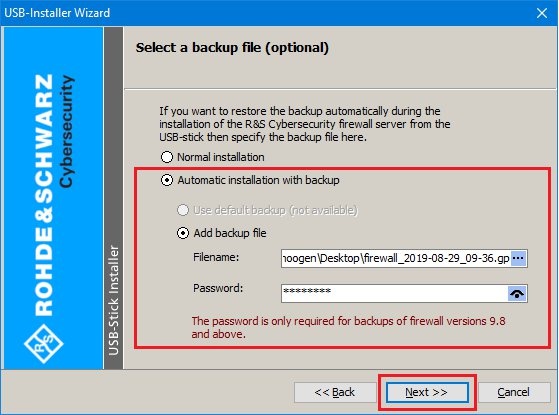
2.11) Select Automatic installation with backup and Add backup file.
2.12) In the field Filename, enter the Path to the backup file created in step 1 and enter the password for the backup file.
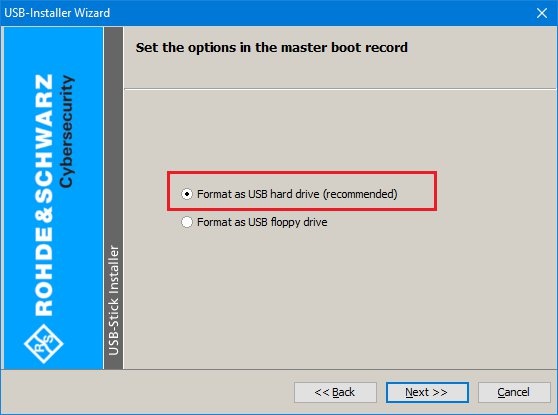
2.13) Select the recommended option Format as a USB hard drive.
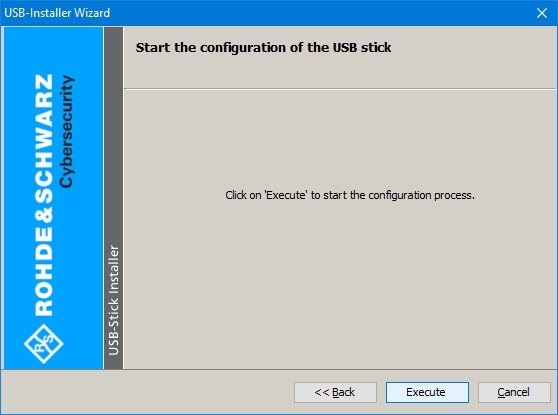
2.14) Click Execute to start the process.
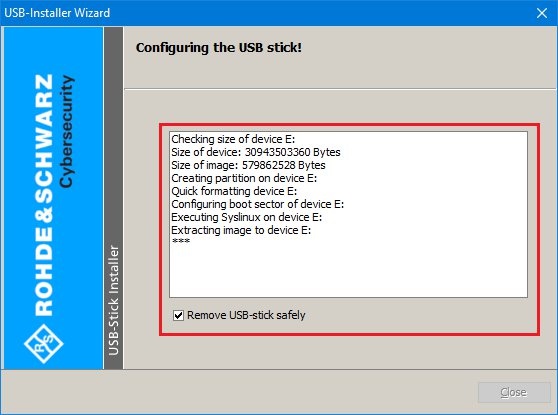
2.15) The process log is shown in the dialog.
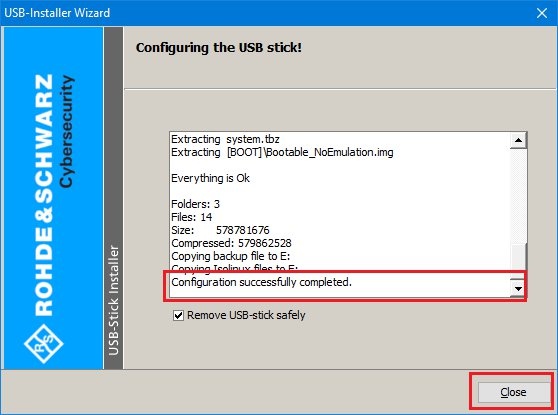
2.16) Once the process is completed successfully, the wizard reports “Configuration successfully completed”.
2.17) Leave the option Remove USB stick safely enabled and click Close.
2.18) Remove the USB stick from your PC.
Make sure that the bootable USB stick is never connected to a computer which is booting up. Otherwise, the USB stick triggers an automatic installation of the LANCOM R&S ® Unified Firewall software and reformats the hard disks.
3) Transfer the new firmware and backup file to the Unified Firewall:
Please note that the license for your Unified Firewall will be deleted after this procedure. The device is then returned to its 30-day trial period!
In order to re-license the device, you must import the license file that you received when you registered your device .
3.1) Turn the Unified Firewall off.
3.2) Plug the bootable USB stick created in step 1 into any USB port of the device.
3.3) Turn the Unified Firewall on to start the automatic installation of the new image. Once the installation process has successfully completed, the device shuts off automatically.
3.4) Once the Unified Firewall has switched itself off, you can remove the USB stick.
2.5) Turn the Unified Firewall on again. This concludes the manual firmware update.
We recommend that you format the USB stick after successfully installing the current version of the Unified Firewall software. This prevents you from unintentionally installing the image on other devices. This would cause hard drives to be formatted and data lost.