Description:
This article describes how the configuration of a switch with LCOS SX 5.xx can be exported and imported via LANconfig.
The procedure to export the configuration of a LANCOM managed switch via SCP is described in this Knowledge Base article.
The procedure to export the configuration of a switch with LCOS SX 5.xx via the Webinterface is described in this Knowledge Base article.
Requirements:
- One of the following LANCOM switch models:
- XS-51xx / XS-6128QF
- GS-45xx / XS-45xx
- CS-8132F
- YS-7154CF
- LCOS SX as of version 5.00 for XS-51xx / XS-6128QF (download latest version)
- LCOS SX as of version 5.20 for GS-45xx / XS-45xx (download latest version)
- LCOS SX as of version 5.30 for CS-8132F and YS-7154CF (download latest version)
- LANtools as of version 10.42 (download latest version)
- Any web browser for accessing the webinterface (for the configuration upload)
Procedure:
1) Saving the switch configuration:
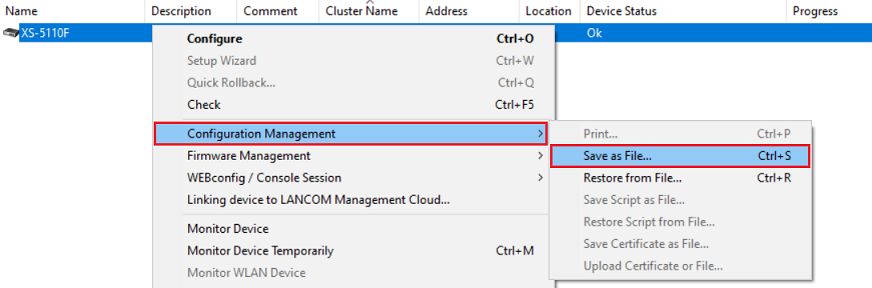
1.1) Mark the switch in LANconfig, perform a rightclick on the device and, in the context menu, select Configuration Management → Save as File.
When exporting the switch configuration via LANconfig the running-config is saved (parameter :config when exporting / importing the configuration via SCP).
1.2) Select a save location and click Save. If required enter the login credentials.
You can also change the file name if necessary.
2) Uploading the switch configuration:
After uploading the switch configuration it has to be saved as the start configuration. This cannot be done via LANconfig, but instead has to be carried out via the webinterface or the CLI.
2.1) Mark the switch in LANconfig, perform a rightclick and, in the context menu, select Configuration Management → Restore from File.
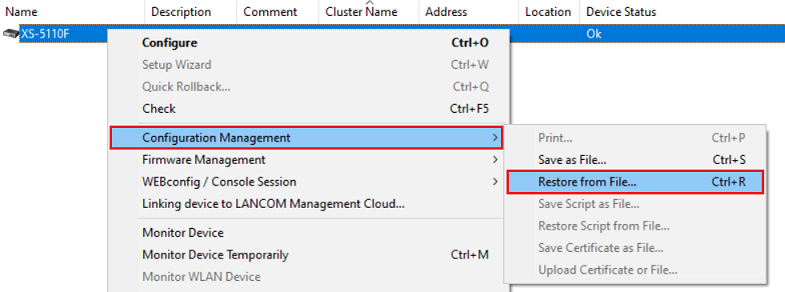
2.2) Select the switch configuration file and click Open to start the upload process.
2.3) Connect to the webinterface and click on Save Configuration in the top right-hand corner to save the configuration as the start configuration .
The start configuration is retained even if the device is restarted or there is a power failure.
As an alternative you can also save the configuration as start configuration via the CLI with the command write memory.

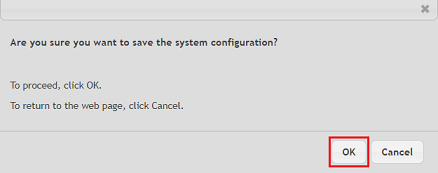
2.4) Acknowledge the save process by clicking OK .