Description:
As of LCOS version 10.50, the LANCOM vRouter can also be used in a kernel-based virtual machine (KVM). This document describes the configuration steps for installing the LANCOM vRouter.
Requirements:
Procedure:
1. In the first step, select the "Import existing disk image" option.
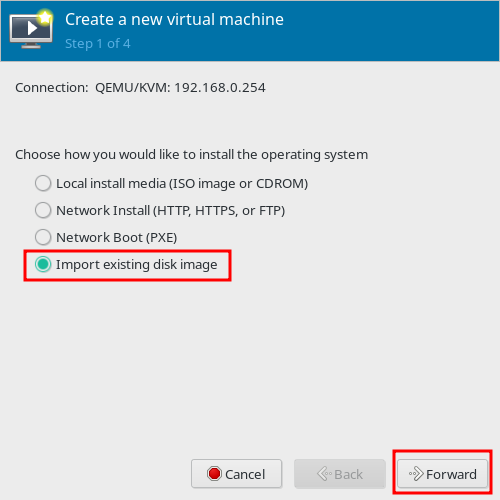 Screenshot of a virtual machine creation interface with options for operating system installation including local install media, network install, network boot, and importing an existing disk image.
2. Set the path to the image file of the LANCOM vRouter with the "Browse" button.
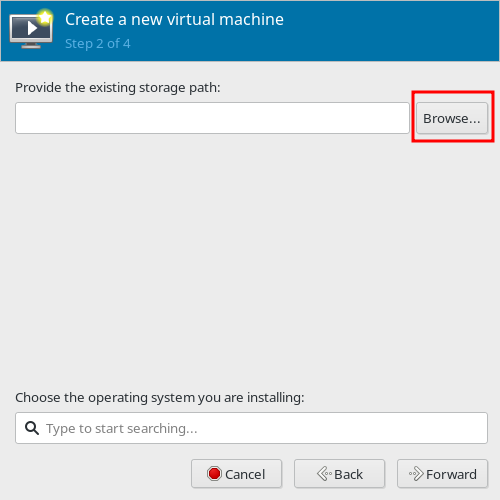 Screenshot of a user interface for creating a new virtual machine, showing fields to provide the existing storage path and to choose the operating system for installation.
3. In the next dialog, select the volume "LANCOM-VROUTER-installer ...." and click on "Choose Volume".
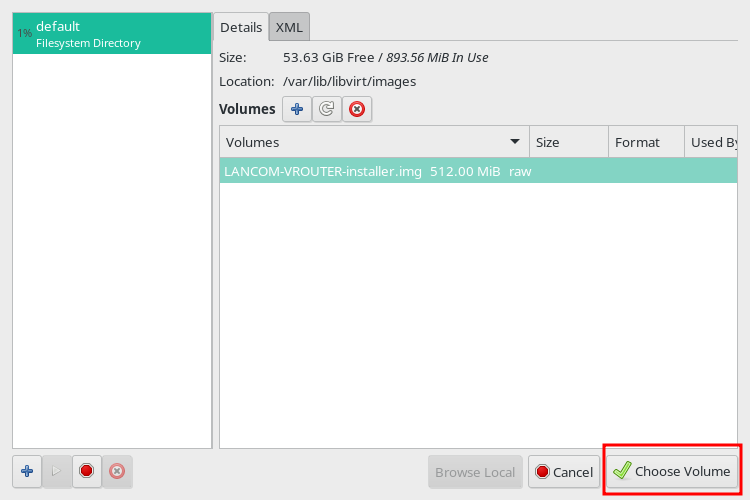 The image displays a technical user interface showing storage details, including size, free space, and usage, for virtual machine images located in a library directory.
4. You must use "Generic default" as the operating system. Then click on "Forward".
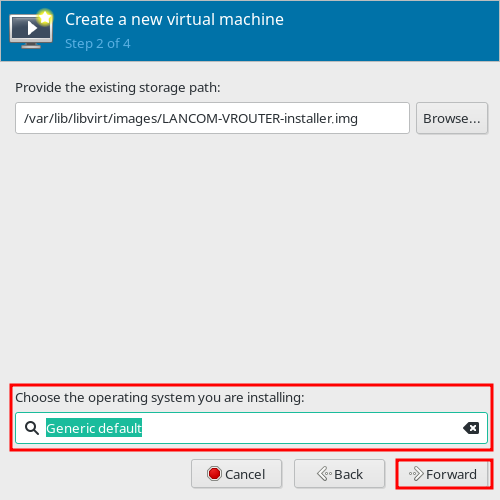 Screenshot of a virtual machine creation interface showing options to provide existing storage path and choose the operating system with a generic default selected.
5. Set a Memory size of at least 2048 MiB.
Memory size recommendation:
- vRouter 50 & 250: 2 GB RAM
- vRouter 500 & 1000: 4 GB RAM
- vRouter Unlimited: 8 GB RAM
 Assign RAM size and CPU cores to the VM
6. Enter a name for the vRouter installation and activate the "Customize configuration before install" option. Then click on "Finish".
 Enter a name for the vRouter and open additional settings
7. Remove the sound card by selecting the hardware and clicking the "Remove" button.
 Screenshot of a complex technical configuration menu showing various options such as Installation, Memory, Boot Options, Disk, and Hardware settings.
8. Remove the "Tablet" hardware by selecting the hardware and clicking the "Remove" button.
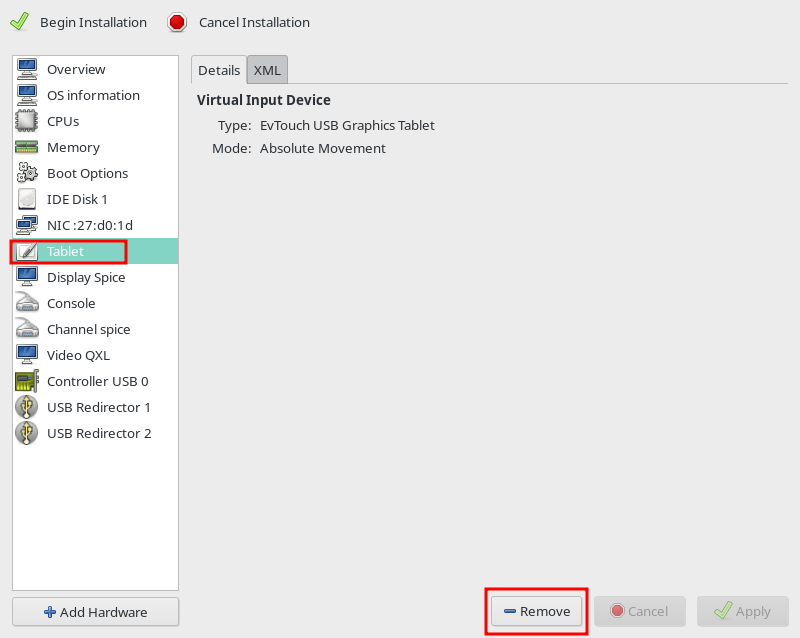 Screenshot of a complex software interface displaying options for installation, system configuration, and hardware settings, including virtual input device settings, CPU types, memory modes, and video control configurations.
9. Select the "VGA" model as the video adapter for "Video QXL". Then click "Apply".
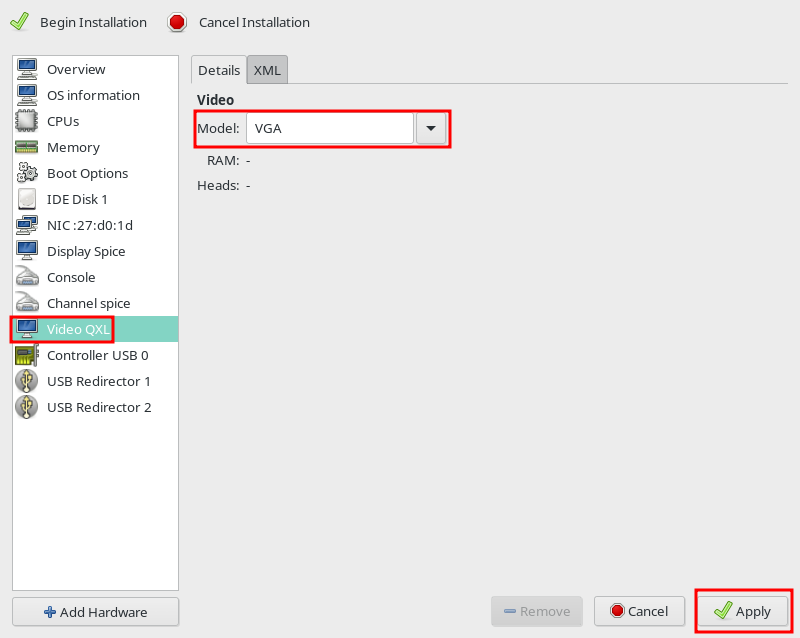 This image displays a technical configuration menu with options for installation, memory, RAM, boot options, and hardware management.
10. The device model "virtio" must be set as the network adapter. Then click "Apply".
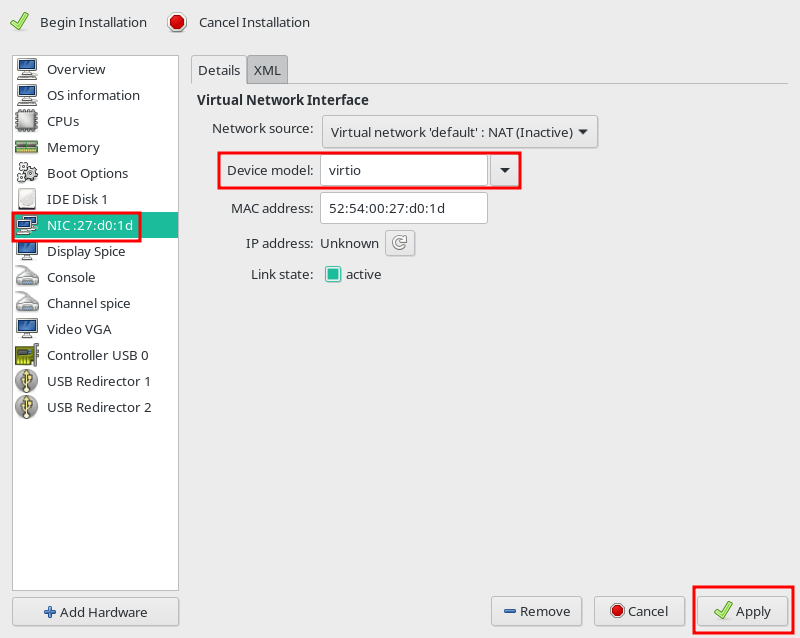 Image displaying a complex technical user interface related to virtual network configurations, including options such as installation settings, network source, CPU details, memory specifications, and hardware control features.
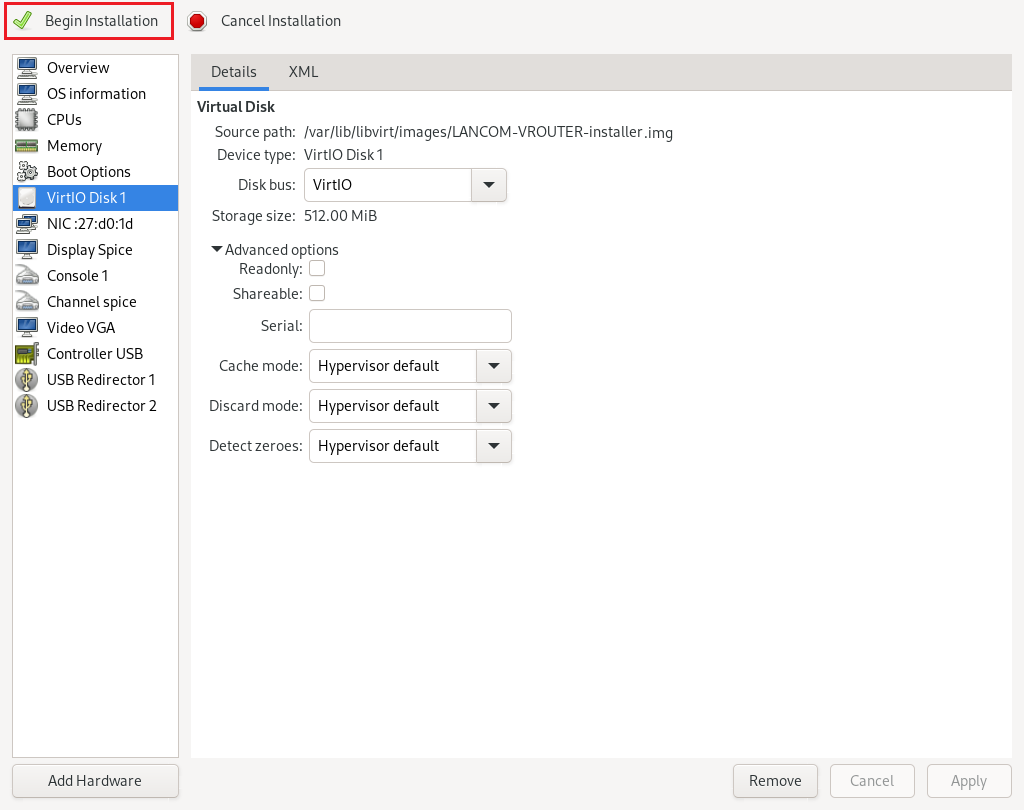
11. The disk bus "VirtIO" must be set for the hard disk. Then click "Apply".
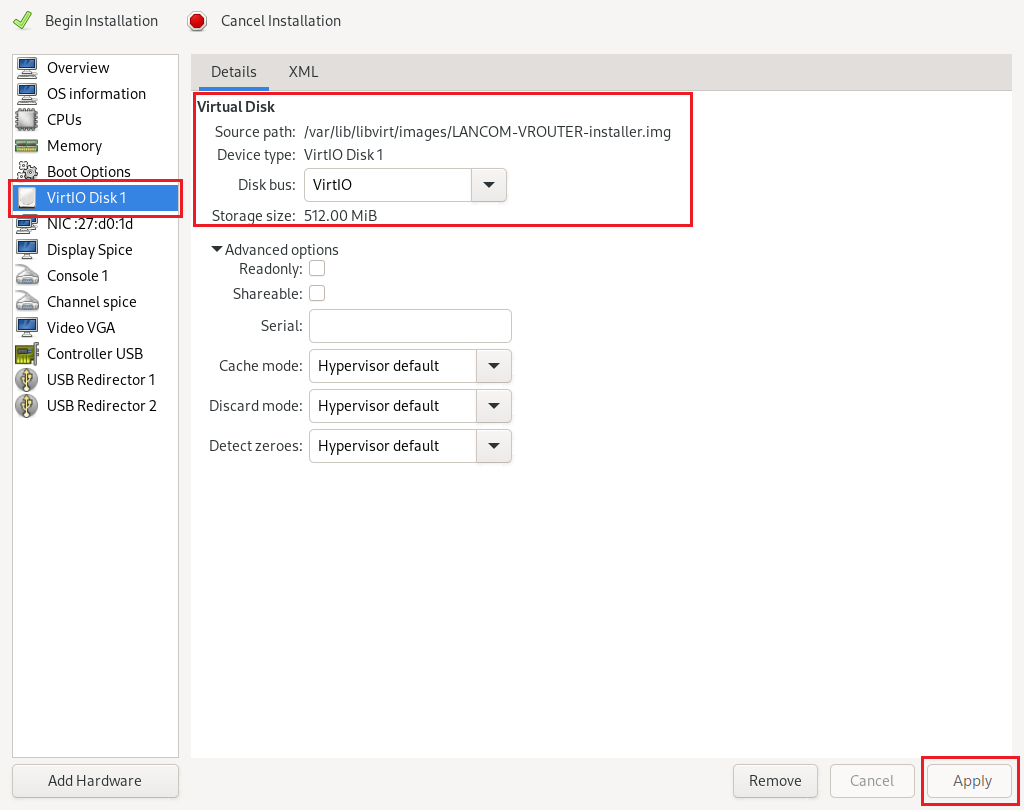 An image displaying a detailed technical configuration interface for a virtual machine setup, featuring options for CPU, memory devices, storage, boot options, and advanced settings like console and disc configurations.
12. Click on "Add Hardware".
 Screenshot of a virtual machine configuration interface showing options for installation, disk setup, memory allocation, and advanced settings such as cache mode and hypervisor defaults.
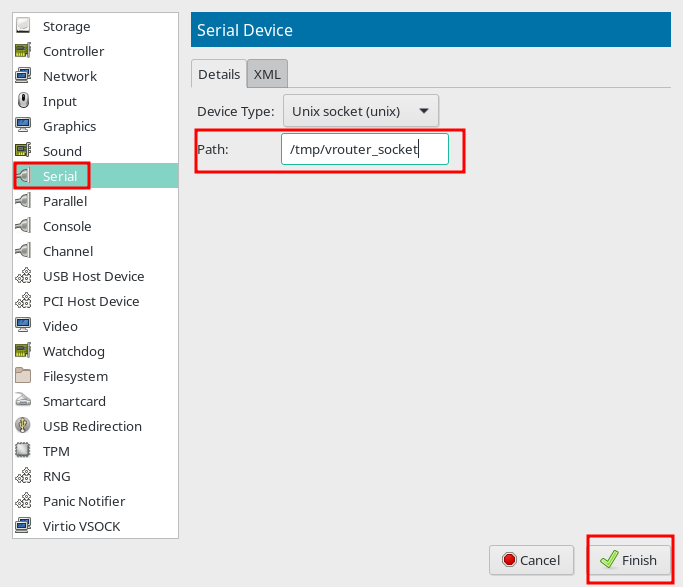
13. Add a serial adapter, select "Unix socket (unix)" as the device type and enter e.g. in the Path field the path "/tmp/vrouter_socket" (can be chosen freely). Then click on "Finish".
 An image displaying a complex user interface with various technical configuration options listed, including network details, input devices, graphics settings, and multiple connection channels like USB and PCI host devices.
14. Click on "Add Hardware" again.
Image of a virtual machine configuration interface showing options for CPU, virtual disk, memory, boot options, and network settings.
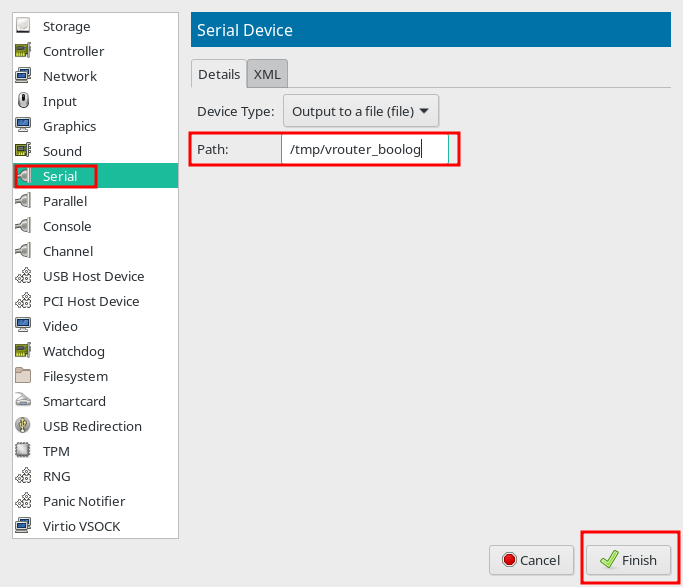
15. Add another serial adapter, select "Output to a file (file)" as the device type and enter e.g. in the Path field the path "/tmp/vrouter_bootlog" (can be chosen freely). Then click on "Finish".
 Screenshot of a technical configuration interface displaying various network and device settings including USB Host Device, Filesystem, Smartcard, and other components.
16. Click on "Begin installation" to start the installation of the LANCOM vRouter.
 Screenshot of a technical interface for configuring virtual machine attributes including CPU, memory, disk options, and advanced virtual hardware settings.
