
Description:
If an Internet connection with a dynamic IPv4 address is used, the new IP address would have to be announced in a cumbersome way whenever the IP address changes. To bypass this issue the current IP address can be sent to a DynDNS service and a connection to the router or Unified Firewall can be established via a DNS name. The LANCOM Management Cloud features an integrated DynDNS service. Therefore the administration of the router or Unifed Firewall as well as the DynDNS service are under one roof.
This article describes the configuration steps for the DynDNS service in the LANCOM Management Cloud.
Die DynDNS functionality in the LMC only works, if the function Gateway is assigned to the router. For this purpose the Automatic assignement of new networks must be activated (under Sites → <Site> → Devices → Determine function).

Requirements:
- LCOS as of version 10.42 on the LANCOM router or a LANCOM R&S®Unified Firewall with LCOS FX as of version 10.6 Rel
- Access to the LMC including your own project
- The LANCOM router or Unified Firewall has to be connected to the LMC including a valid LMC license
- Configured Site with assigned Network and router or Unified Firewall
- The Function Gateway has to be assigned to the router or Unified Firewall
- Configured and functional Internet connection with public IPv4 or IPv6 address on the router or Unified Firewall (as of august 2022, a Unified Firewall only supports IPv4)
- The Internet connection can be configured as follows:
- manually on the router via LANconfig / WEBconfig or via the webinterface on a Unified Firewall
- manually via the detail configuration in the LMC
- automatically via LMC addins
- The Internet connection can be configured as follows:
- Web browser for accessing the LMC
Procedure:
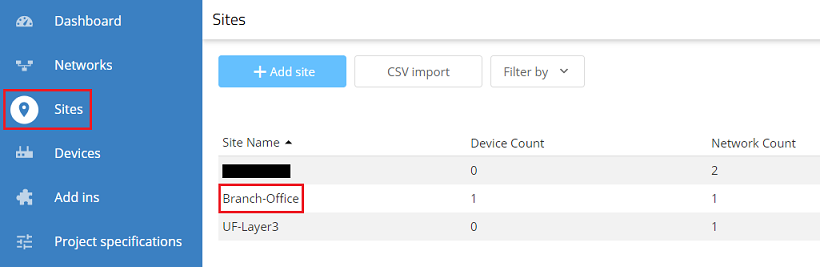
1) Connect to the LMC, click on Sites and select the used site.
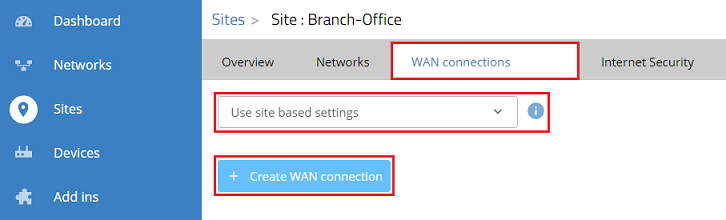
2) Go to the tab WAN connections, select the option Use site based settings in the dropdown menu and click Create WAN connection.
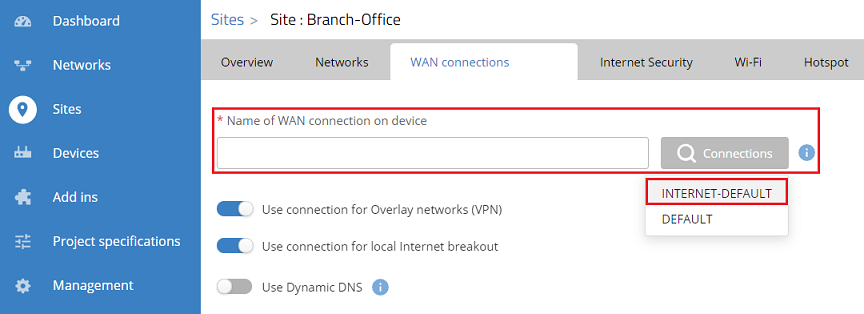
3) Click on the Connections box at Name of WAN connection on device to display the configured Internet connections. Afterwards select the used Internet connection (in this example the connection INTERNET-DEFAULT).
As an alternative you can also enter the name of the Internet connection manually.
With a Unified Firewall the name of the Internet connection is not displayed in the dropdown menu. Therefore the name must be entered manually.
If the name of the Internet connection isn't known, it can be looked up via the webinterface of the Unified Firewall in the menu Network → Connections → Network Connections (the connection with the green cloud symbol).
Please note, that the name of the Internet connection in the Unified Firewall must be changed from the default setting, as the DynDNS service in the LMC doesn't support blanks. Furthermore the name must not begin with a number and must be in upper case letters. Otherwise, the configuration cannot be rolled out via the LMC! It is expected, that these issues will be fixed in a future LMC version.
On a Unified Firewall the DynDNS settings made by the LMC are not visible in the webinterface.
4) Activate the option Use Dynamic DNS, adjust the Dynamic DNS subdomain if needed and click Save.
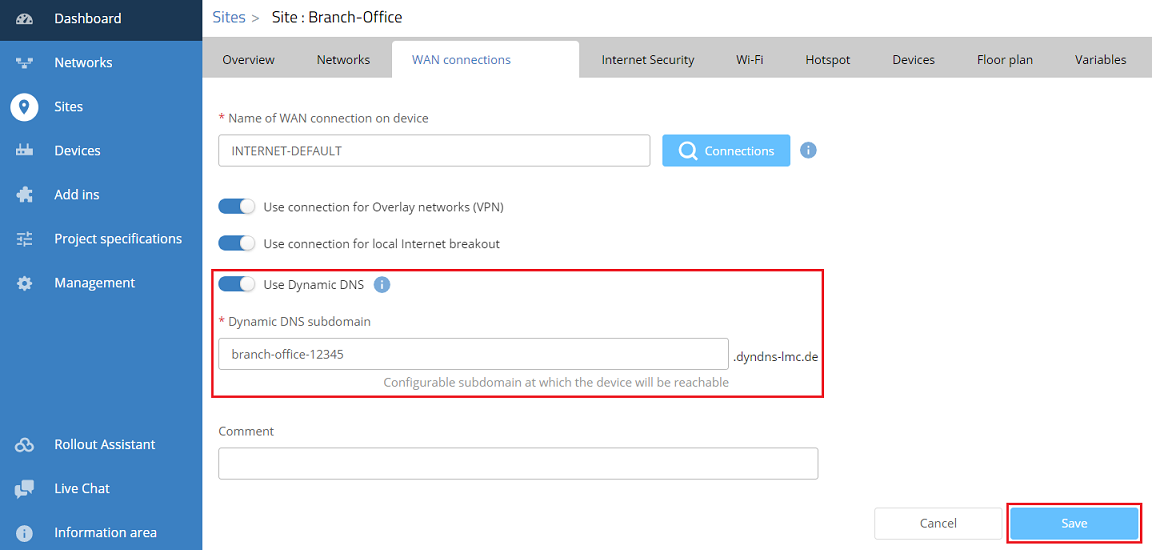
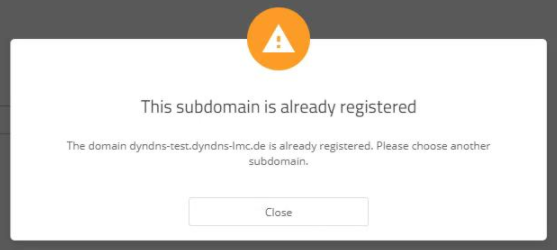
If a subdomain is entered, which is already in use, the error message This subdomain is already registered is displayed. In this case another subdomain has to be entered.
5) Go to the menu Devices, select the router which is assigned to the used site and click on the "dots" icon to gain access to the extended menu.

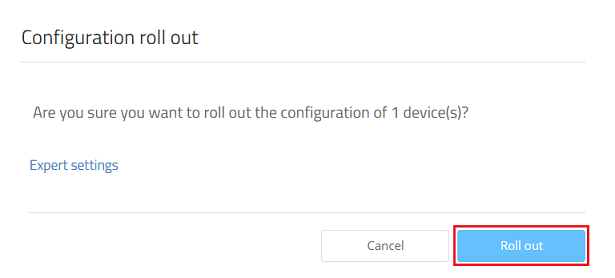
6) Click on Configuration roll out to transfer the configuration changes to the devices.

7) Acknowledge the query by clicking Roll out.
8) The configuration of the DynDNS service for a site is now complete.
The current IP address can be read out in the menu Sites in the respective Site under WAN connections. Please check, if the displayed IP address matches the actual obtained or assigned IP address. The procedure to read out a dynamically assigned IP address is described in this Knowledge Base article.
