
Description:
Usually the Advanced VPN Client obtains its IP parameters (this includes the DNS server) via the IKE Config Mode from the VPN router. In the process the router assigns itself as DNS server. Thus when resolving a DNS name via the VPN connection in a scenario with a separate DNS server, the wrong DNS server is used and the destination cannot be reached via the DNS name.
This article describes how to set up a separate DNS server in the Advanced VPN Client.
Requirements:
- Advanced VPN Client for Windows as of version 2.3 ( download latest version )
- Advanced VPN Client for macOS as of version 2.05 RU1 ( download latest version )
Procedure:
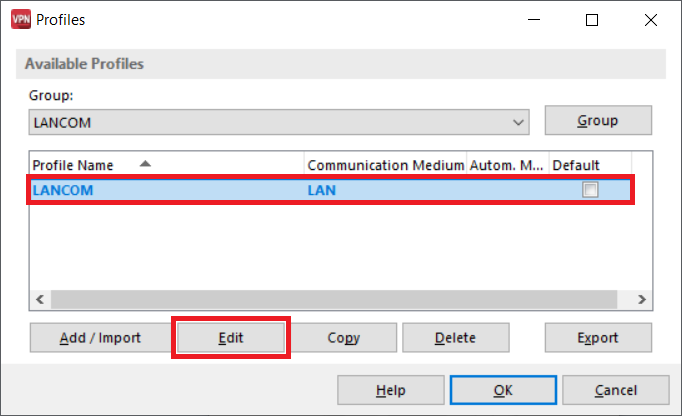
1. Open the Advanced VPN Client and click on Configuration → Profiles .

2. Select the utilized profile and click on Edit .
3. Go to the submenu IPSec Address Assignment, activate the checkbox DNS / WINS Servers and make the following changes:
- 1. DNS Server: Enter a DNS server, which resolves DNS requests in the destination network.
- 2. DNS Server: Optionally enter a second DNS server. This one is used, when the 1. DNS Server doesn't respond.
- Domain Name: Optionally enter a Domain Name. When invoking this domain, a DNS request is transmitted via the VPN connection to the stored DNS server.
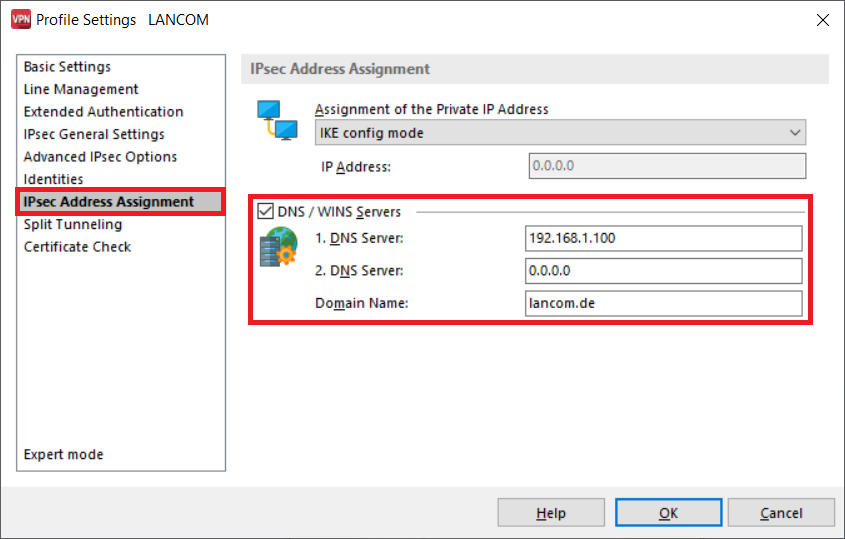
4. Click OK to save the profile.