Description: This document describes how to use a LANCOM WLAN controller with the One Click Backup feature to backup existing certificates and then transfer them to another LANCOM WLAN controller. This can be useful, if for example, an existing WLAN Controller is to be replaced by a new one.Requirements:
Procedure:1) Steps to carry out on the source device:1.1) Creating the One Click Backup: On the LANCOM WLAN controller containing the certificates, you first perform a backup to the CA (certification authority). The backup is stored on the WLAN controller. - Open a CLI session via SSH on the WLAN controller and run following command:
do /Setup/Certificates/SCEP-CA/CA-certificates/Create-PKCS12-Backup-Files <password>
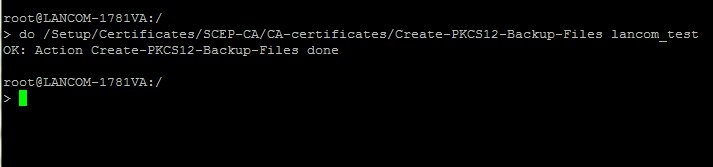
You then enter the command ls /Status/File-System/Contents. This allows you to check whether the backup files were successfully created. The following files should appear in the list: - scep_ca_backup
- scep_ra_backup

1.2) Exporting the "One Click Backup": 1.2.1) Exporting the "One Click Backup" via LANconfig:
1.2.2) Exporting the "One Click Backup" via WEBconfig:
In the next step, the files for the CA & RA backups, the SCEP CA certificate list, and the SCEP CA serial number need to be downloaded from the WLAN controller and saved to your PC or an external data medium (see figure). - You can do this, for example, using WEBconfig with the menu item File management -> Download certificate or file.
- For the file type, select the option of SCEP-CA - One Click Backup. This methods exports all of the required files to a file named "scep_download_oneclick_backup".
2) Steps to carry out on the target device: 2.1) Open WEBconfig and use the item File management -> Upload certificate or file. 2.2) Set the file type to the option SCEP-CA - One Click Backup and, in the file name box, specify the path to the file "scep_download_oneclick_backup" which you saved in step 1.2. 2.3) In the Password field you have to enter the password that you assigned in step 1.1. 2.3) Run the following command on the SSH console to perform the upload: do /Setup/Certificates/SCEP-Client/Reinit 2.4) This concludes the transfer of the certificates. |
|


