Description:
LANCOM Systems offers its customers a wide variety of device options, service packages (LANcare), and licenses.
If you have larger quantities of licenses, you don't want to register each license individually. This document describes how you can perform a bulk import by uploading a *.csv file to our website and thus carry out any number of license registrations in one go.
Limitations:
It is not possible to register the following types of license:
- LANCOM content filters and BPjM filters,
- Licenses of LANCOM R&S®Unified Firewalls or
- Licenses for the LANCOM Advanced VPN Client
Procedure:
*.csv file requirements
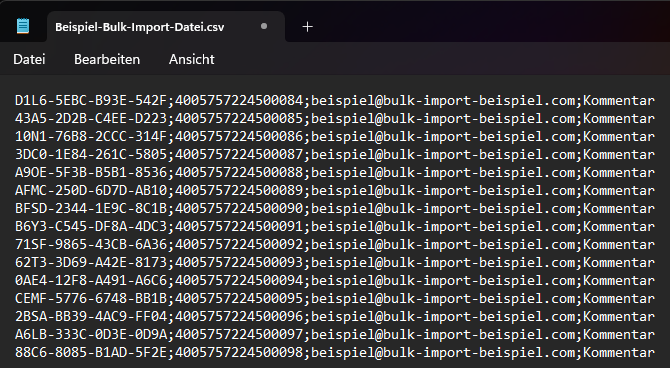
- File format: CSV, separated by semicolon
- No headings
- Column 1: License number
- Column 2: Serial number
- Column 3: E-mail address – important for LANcare Direct and LANcare Direct Advanced
- Column 4: Comment - This field is mandatory and always has to be used
1. Compiling the *.csv file
1.1 We recommend that you download the following sample file and use any text editor to replace the entries with your license data, serial numbers, and e-mail addresses.
 Beispiel-Bulk-Import-Datei.csv
You can also compile the file yourself using Microsoft Excel. Please note that Excel incorrectly interprets the serial numbers as integers. Since the value for the number format is too large, the serial number is changed and is therefore no longer correct (see the following figure).

How to use Excel while preserving the correct data is described below.
2. Preparing the *.csv file using Microsoft Excel
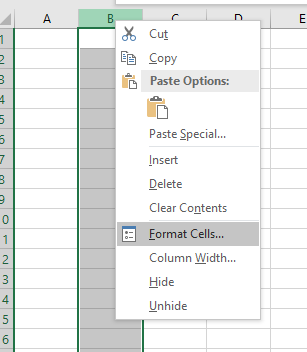
2.1) Some formatting work is required for serial numbers to be displayed correctly in Excel. To do this, the cells must be formatted as text before you enter the data.
2.2) Create a new *.xlsx file:
- Format column B as text, as this ensures that the serial numbers are displayed correctly and in full.
2.3) Enter your license data here.
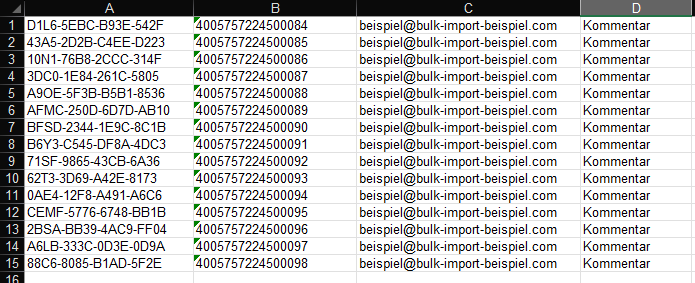
2.4) Once you have entered all your license data, you then save the file in *.csv format.
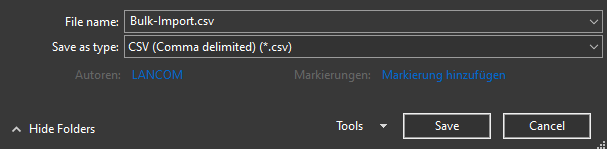
This file is used for the import.
Please note that you cannot repeatedly edit the file with Excel. *.csv files do not store the formatting, which means that Excel interprets the values incorrectly and changes them when the file is opened again.
Opening the file with a text editor is no problem.
3. Import *.csv file on the LANCOM website
3.1) In a browser, open the website for importing a bulk file .
3.2) Click the Select file button and select the *.csv file.
3.3) Click Generate to start the import and registration process. The entire process takes just a few seconds.
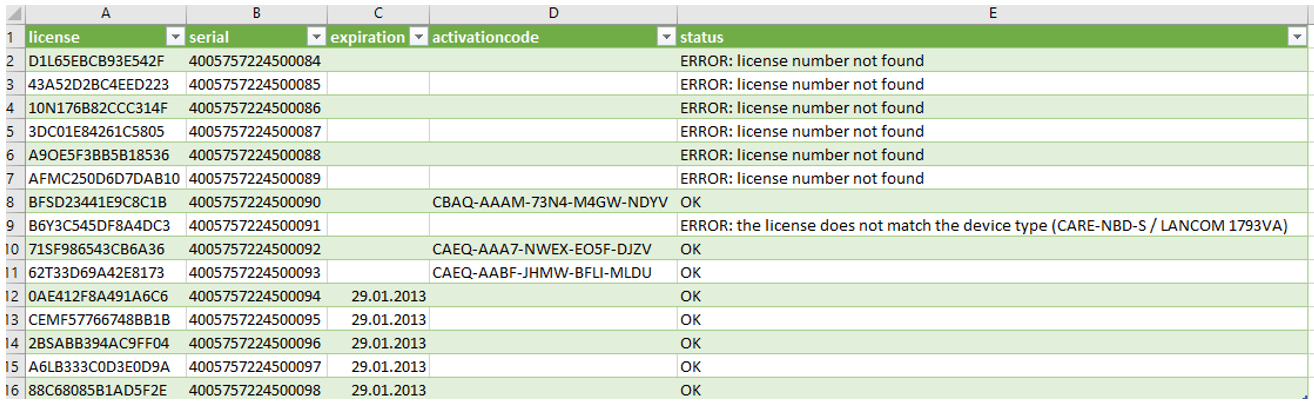
3.4) After the import, click the Download link to receive an output file.

- For term-based licenses, the expiry date is also specified.
- Any errors with individual serial numbers will display a corresponding message on the web interface. The error messages can also be viewed in the output file (see section 4).
4. Opening the output file with Microsoft Excel:
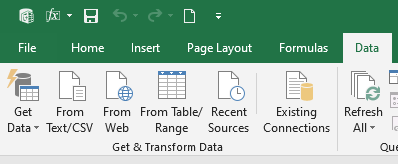
4.1) Open a new empty Excel workbook and switch to the Data menu.
4.2) Select the option From Text/CSV and select the downloaded output file.
4.3) In the Import dialog, click Transform data..
4.4) In the header of the serial column, click the drop-down menu and select the option Text.
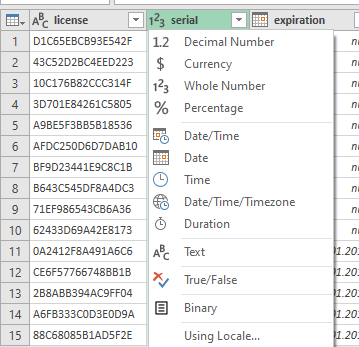
4.5) In the Change Column Type dialog, click Replace current.

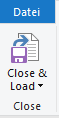
4.6) Finally, click Close & Load in the menu bar.
4.7) The following figure shows a typical result.